

Here we are going to fit a earth clamp to a 15mm copper pipe, this would be done in both Main equipotential bonding and supplementary equipotential bonding.
| Before working on any electrical circuit you must ensure that it is isolated correctly and cannot accidentally be switched back on. Please read the article on safe isolation procedures before doing any electrical work. If you are not 100% certain what you are doing call a qualified electrician. Building regulations are changing all the time and modifying your home electrics could be against new rules and could invalidate your home insurance, if in doubt check first! |
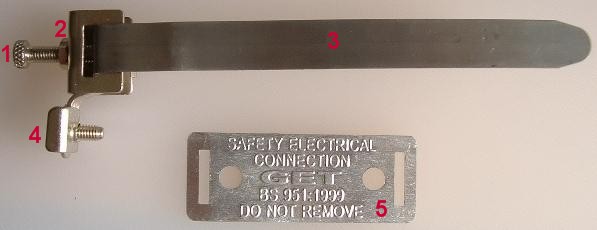
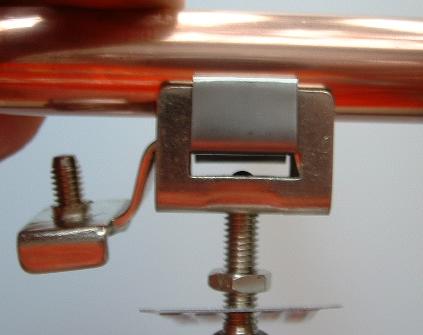
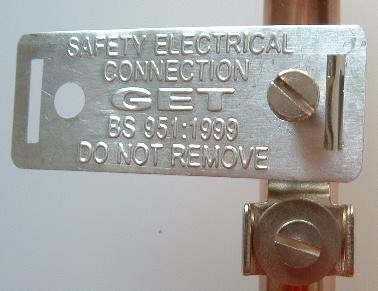
1. Tightening screw 2. Locknut 3. Earthing strap 4. Earthing terminal 5. Label "SAFETY ELECTRICAL CONNECTION- DO NOT REMOVE"
When you purchase a earth clamp it will probably look like this one. The clamp is only arranged this way for packing purposes and is not fit with the Label in this position!

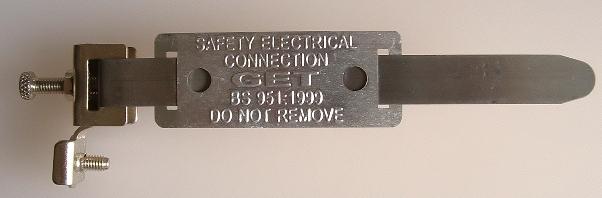
The label must be removed from the earth clamp as a good electrical connection cannot be achieved with the Label attached to the clamp.
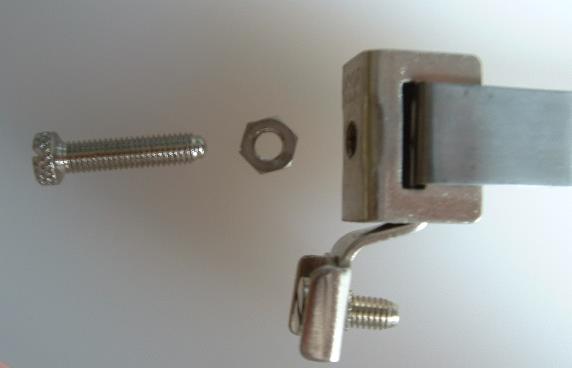
Remove the tightening screw and lock nut from the body of the clamp and feed the screw through the round hole on the label.

Now place the lock nut back onto the screw and then screw the screw back into the body of the clamp
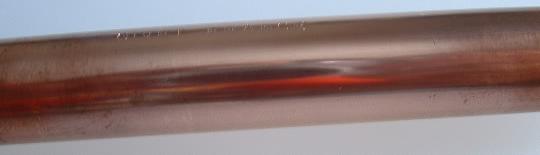
It is of vital importance that the contact between the clamp and the copper pipe is clean, so clean the area where the clamp is to be fitted with wire wool. If the pipe has been painted, the paint needs removing and then cleaning with wire wool.
Here you can see that the pipe is very clean. start by loosening the locking nut enough, so that there is a clear gap to push the strap through once the strap has been wrapped around the pipe.
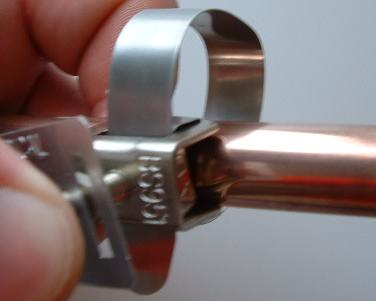
wrap the strap around the pipe once and feed it through the gap in the body of the earth clamp.
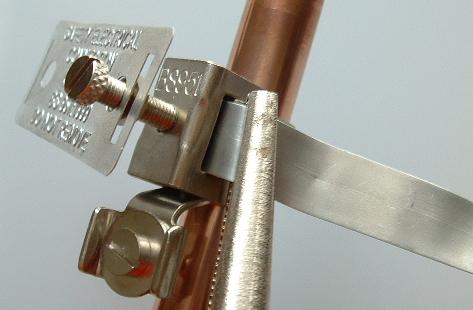
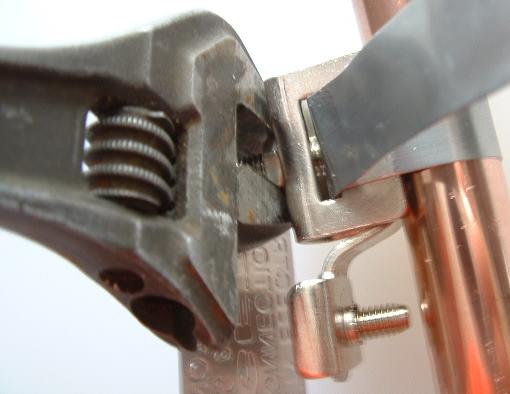
Now using a pair of suitable pliers, pull the strap so that it is tight. Using your other hand and a good fitting screw driver tighten the locking screw up. This needs to be a good tight connection!
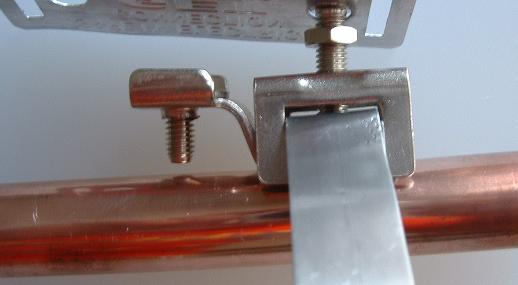
The clamp should now be very tight and you should not be able to move it up or down the pipe. The lock nut now needs tightening to ensure the screw does not loosen due to expansion/contraction from hot or cold water etc.
Tighten the nut tight against the body of the clamp so that it cannot work loose.
You now have a earth clamp that is securely fastened to the pipe, you can now connect the appropriate earthing wire to the pipe, on the earthing terminal screw at the bottom. Now please read how to connect the earthing wire to the clamp.