

Wallpapering used to be very common, although in recent years much of it has been replaced with paint. Wall paper can be applied to almost any internal wall or ceiling, there are many different types of wallpaper, some of which are extremely thick and are suitable to hide small irregularities on a non perfect wall which would show up if painted. Here is our guide on wallpapering-
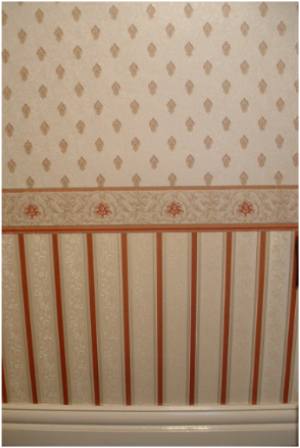
In this picture I have used two different papers and a border, this is done pretty much the same way as hanging normal paper but instead of hanging one full piece you hang two shorter pieces, measure a line all the way around the room at the level where you want the border to be and cut each piece directly on this line ensuring that the two papers do not overlap or this will be seen through the border.
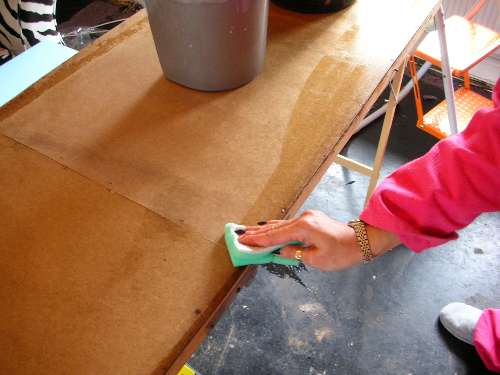
Preparation is the key to successful wall papering, the walls must be free of any loose bits of previously applied wall paper, you can of course paper directly over old wall paper as long as it is attached to the wall perfectly and is not bubbling or peeling away from the wall. Cross lining can be used if a thin paper is being applied to a wall that is not perfect, lining paper comes in different thicknesses and is applied horizontally, although it can be applied vertically as long as the joints on the lining paper do not align with the joints on the wall paper.
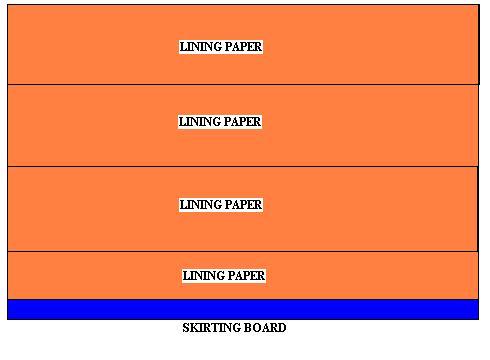
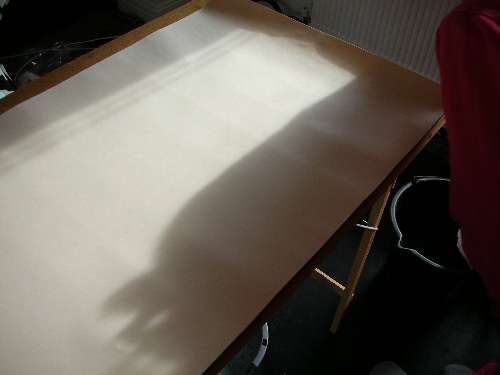
Here we have a diagram on how cross lining should look, start by drawing a horizontal line across the wall and then simply work sideways ensuring the paper is straight and has no bubbles, it is important that the lining paper does not overlap as this will stand out after the final paper is applied.
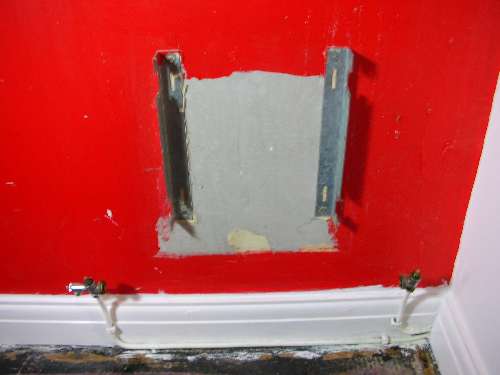
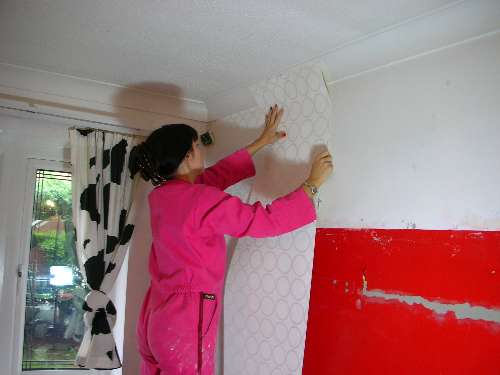
It is a good idea to remove as many things as possible from the wall before you start and so the radiator, shelves, Television and wall lights have all been removed from this wall.
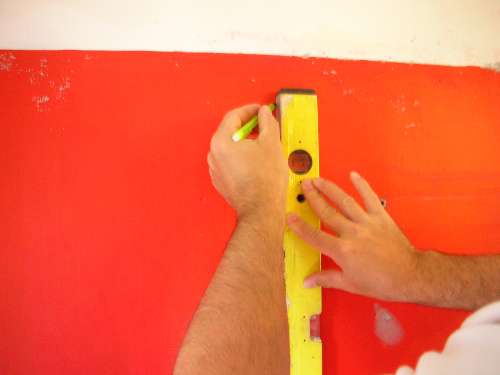
To obtain a good starting point most DIY books recommend using a plumb bob, this is hard work and much easier with a spirit level, simply hold it straight and draw a line down the edge of the level. It is not advisable to start by following a corner as it may not be straight.

Measure the first length of paper by aligning it with the wall and then mark it and cut it, allowing some extra to trim off.
Mark the side that you are going to paste at the top, using a light pencil mark. Then position the paper on the pasting table.
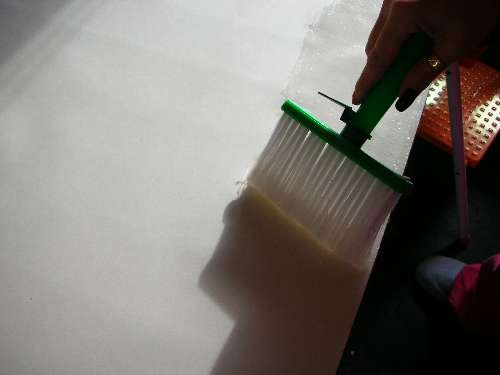
Paste the paper using wall paper paste mixed to the correct consistency. Do not be tempted to use cheap paste. Paste from the top of the paper to the bottom. Ensure that no areas on the paper are missed.
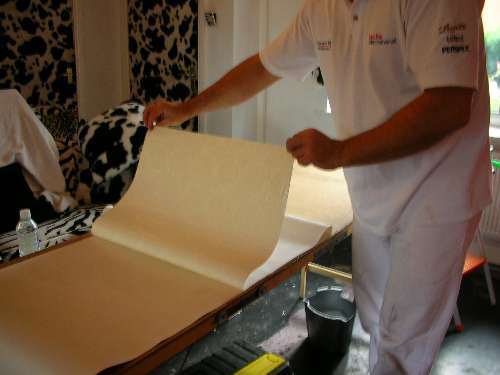
When you have pasted the paper you can carefully fold it, so that you can pick it up holding the top and then unfold the rest of the paper when it is placed on the wall.
Once folded you can leave the paste to soak in for the wall papers recommended time.
If any paste has got onto the paste table, now is a good time to wipe it down.
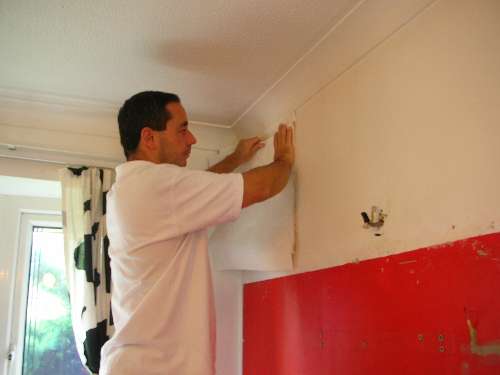
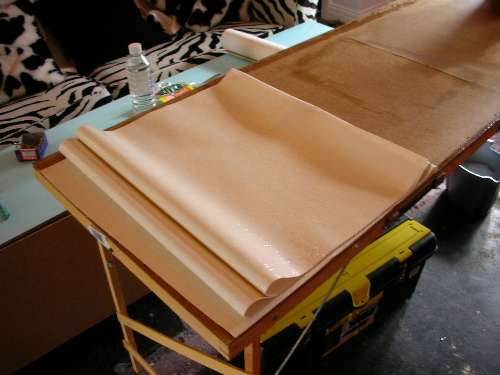
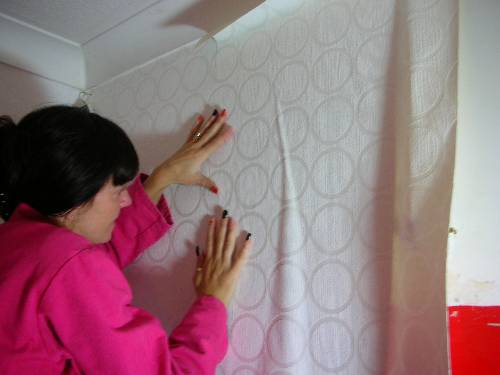
Position the first sheet, allowing a little extra at the top to be trimmed off. Note how the paper is folded up! Align this first sheet of paper with the pencil mark on the wall, ensuring that it is straight.
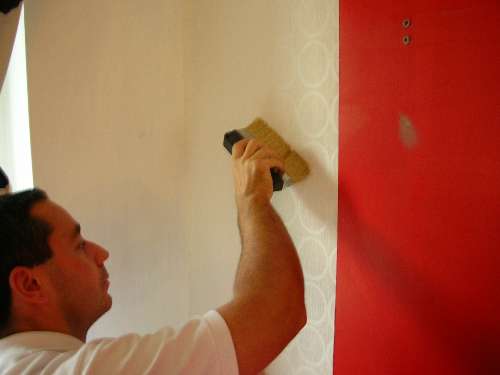
Use a papering brush and brush out from the centre of the paper to each side, so that all air is expelled and that there are no bubbles.
The first piece should look something like this.
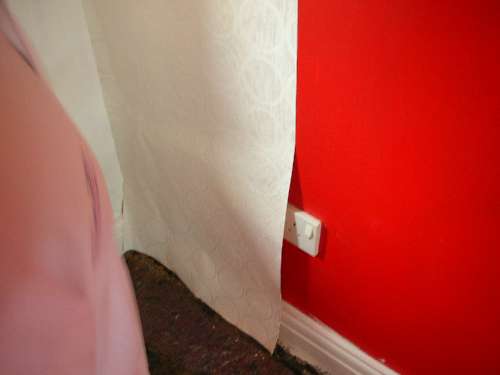
Now we have our first obstacle.
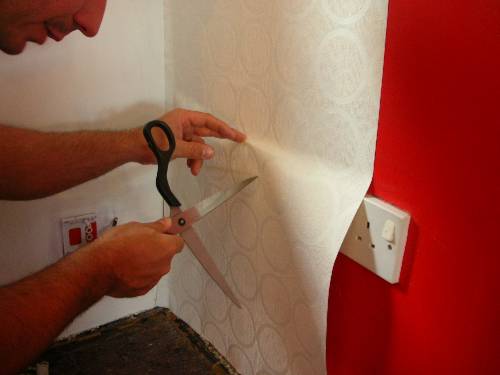
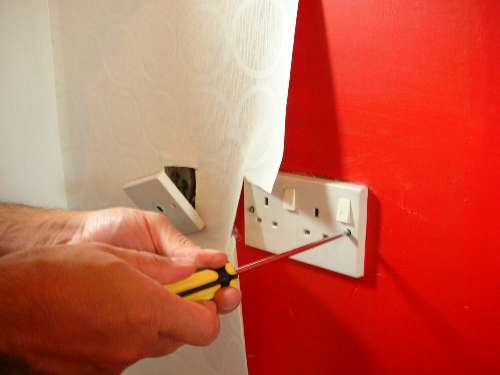
Ensure that the electricity is switched off when working near sockets or light switches. Feel for the outline of the socket and push the scissors through the centre.
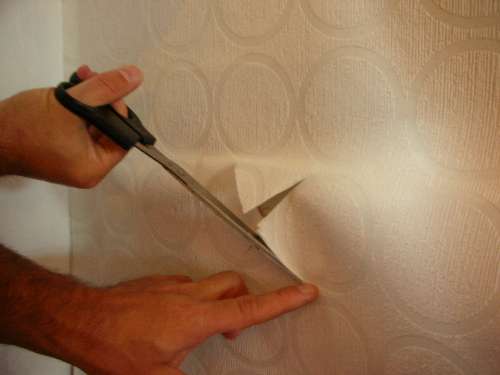
Brush the paper over the sockets and then carefully make a series of four cuts from the centre to 5mm from the outside of the socket. The hole should be slightly smaller than the socket itself.
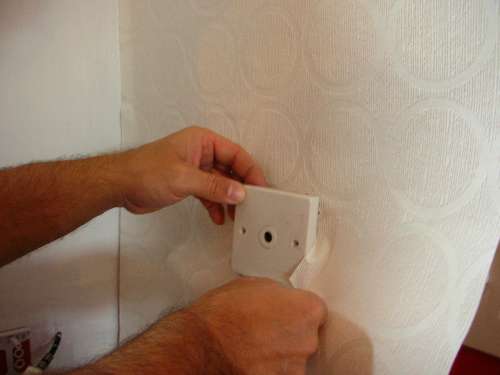
Cut away the excess paper and then undo the socket and feed it through the hole that you have just made. Brush the paper to the wall and then re fix the socket.
This socket is on the join and so will be a little easier.
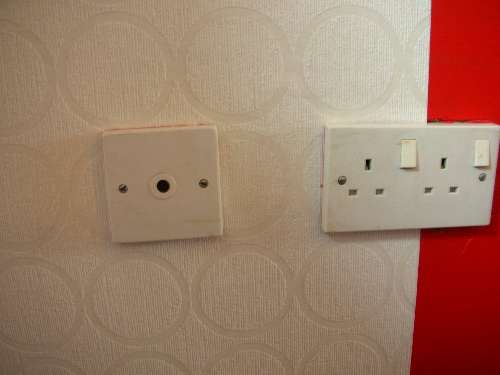
The sockets should look like this once they have been replaced.
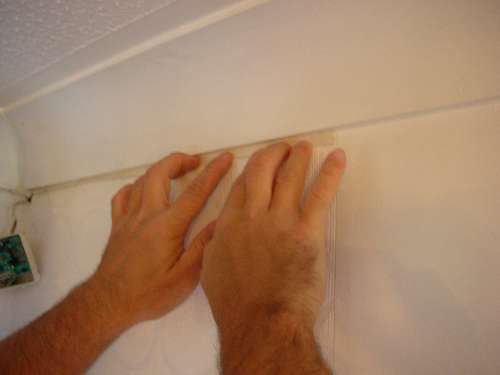
At the top you can now fold the paper back on itself to give you a paste line, you can clearly see this line and cut it using a sharp pair of scissors. Then brush the paper back to the wall and if necessary brush on a little more paste.
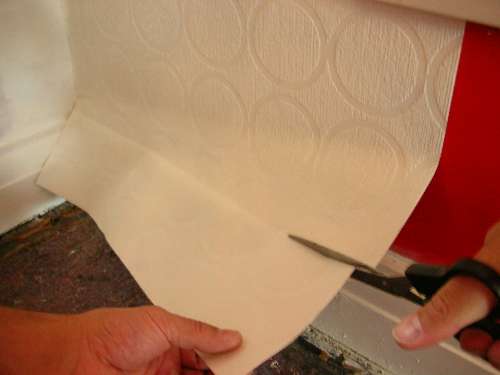
Fold and trim the bottom of the paper and then brush this back against the wall, applying more paste if necessary.

This is the first piece in place and trimmed.
You can now match up the pattern and measure the next piece.
Match the next piece to the previous piece ensuring that the pattern is correctly aligned and that all air bubbles are brushed out.
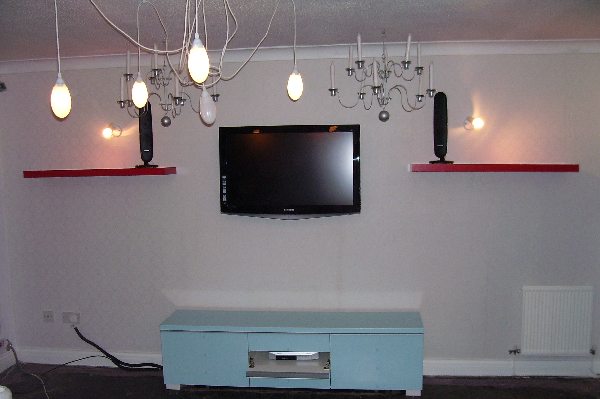
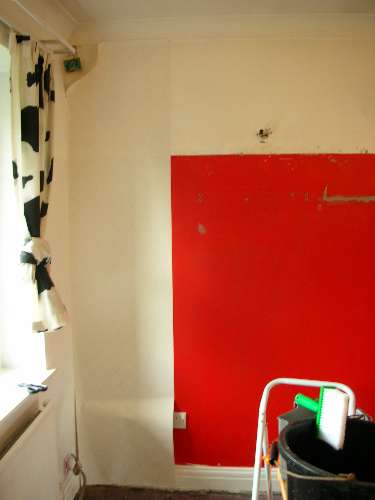
This is the completed wall with the shelves, wall lights, Television and radiator replaced