

Under floor heating is now very popular and has some advantages over radiators, mainly the fact that the heat rises directly from the floor and means that there is no unsightly radiator needed in the room. Electric under floor heating can be installed by the diy'er although it may need notifying to building control due to the new part p regulations, or you can get an approved electrician to install it.
| Before working on any electrical circuit you must ensure that it is isolated correctly and cannot accidentally be switched back on. Please read the article on safe isolation procedures before doing any electrical work. If you are not 100% certain what you are doing call a qualified electrician. Building regulations are changing all the time and modifying your home electrics could be against new rules and could invalidate your home insurance, if in doubt check first! |

Electric under floor heating can be installed beneath real wood floors or laminate floors, but you need a special type of heating mat.
The Warm up cable packs do between a minimum and maximum area, The difference in the spacing between the cables allows them to cover a range of areas (you don’t cut the cables) You get a chart that explains all this.
You will need an isolating switch and also a deep back box, things can get a bit tight otherwise. In this example we are fitting under floor heating beneath a tiled floor.
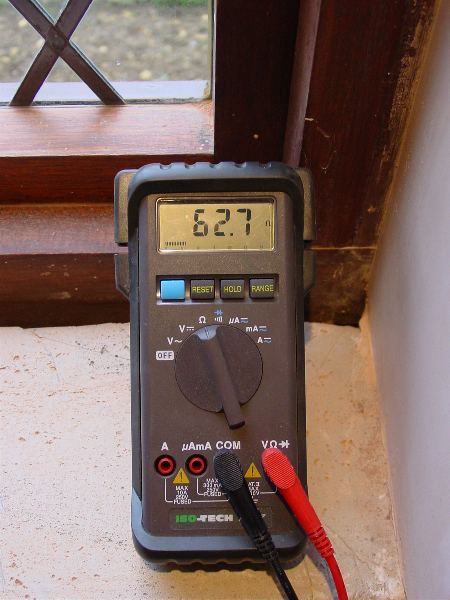
First thing on unpacking the kit is to check the resistance of the heating cable to make sure it is OK. Each length of cable will have a different rating. The pack will tell you what it should be. If it’s very hot or cold, don’t worry the value may be slightly out.
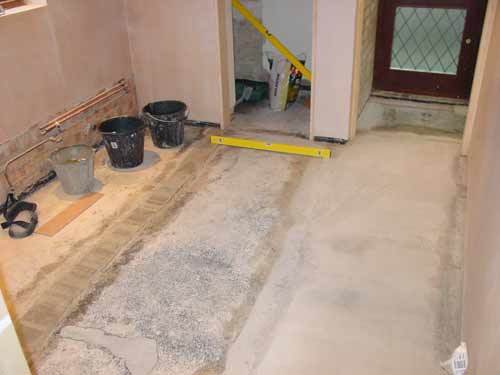
Preparation is the key to fitting the under floor heating correctly. Here the floor has been levelled in preparation for sealing the floor. You can also insulate the floor if you wish.

Seal the floor as recommended in the instructions.
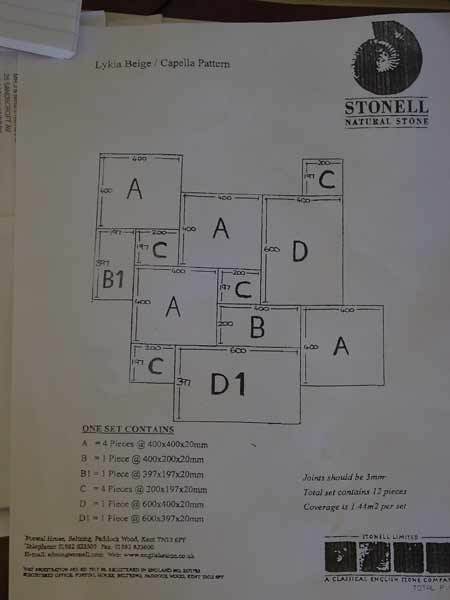
Here is a plan of how the tiles will be laid on top of the under floor heating.
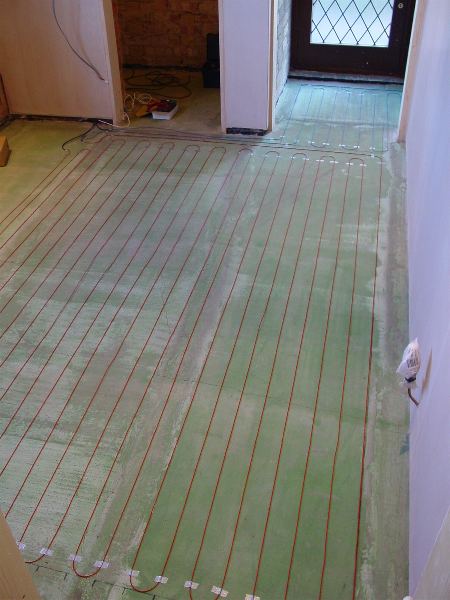
Once you know the spacing between the cables and the gap from the edge (from the chart) mark out the floor and cut a block of wood to the spacing length to act as a guide.
Socks only (shoes can damage the cable).
Use some bubble wrap, thick carpet or foam only knee pads to when kneeling on the cables to protect them. Always lay down the cables first and tack them into place with short bits of tape before completely over taping them. Keep checking the resistance of the cable, if you damage it, you will know where the damage is After it is laid down connect it to the supply for a short while to check it warms up The sensor is a lot thicker than the heating cable. You will probably need to dig out a small channel to allow it to sit flush. Check the sensor with the meter before fixing it. The resistance will change if you change the temperature of the sensor.
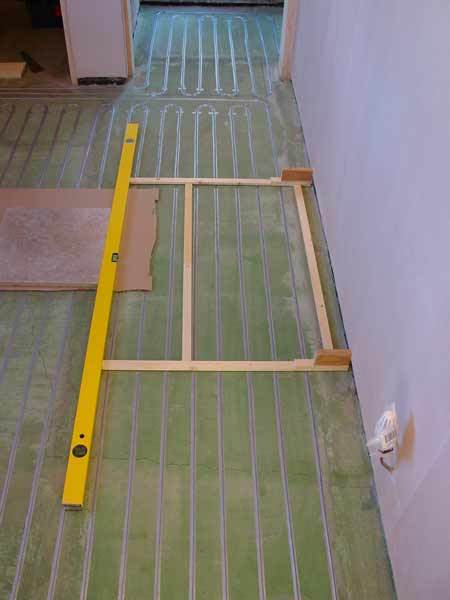
Mark out the area and use a straight edge and timber off cuts to determine the correct starting point.
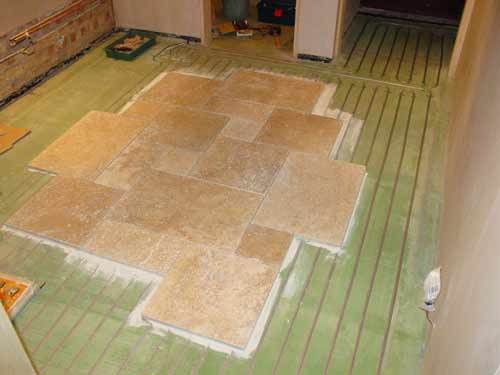
Start to lay the tiles according to your floor plan.

Here the wires have been connected to the switch for testing.

This is the finished floor with the under floor heating successfully installed.