

Installing laminate floor lights is quite simple and is not difficult as long as you have the correct tools available. As with all projects, do not rush it and take your time and it will work out well. Once installed the lights look fantastic!
| Before working on any electrical circuit you must ensure that it is isolated correctly and cannot accidentally be switched back on. Please read the article on safe isolation procedures before doing any electrical work. If you are not 100% certain what you are doing call a qualified electrician. Building regulations are changing all the time and modifying your home electrics could be against new rules and could invalidate your home insurance, if in doubt check first! |
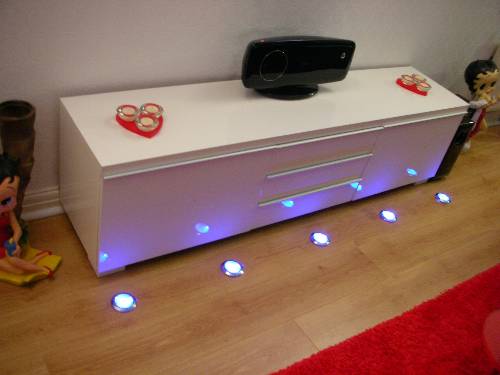
Special lights can be fitted into laminate floors to make an unusual feature. These lights are made by micromark and are low voltage and are designed for such applications.
The lights come with a controller and it is possible to change the colours of the lights or have them change randomly or they can change to the sound of music etc.
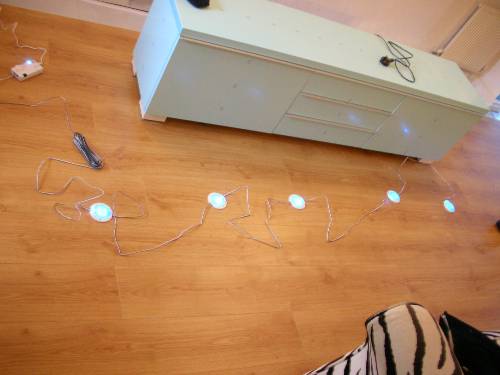
Before fitting the lights we need to test them to ensure that they are working correctly and so they have been laid out and connected together and have been plugged into the controller.
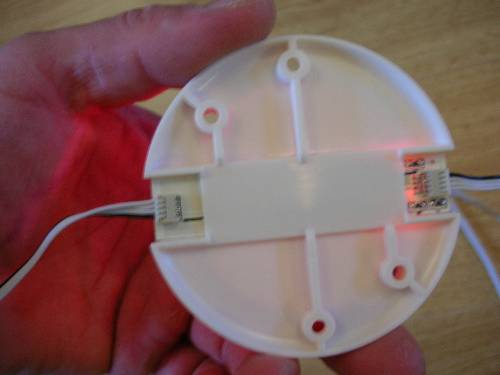
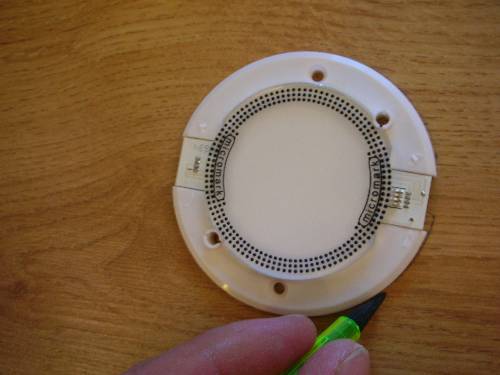
This is the reverse of one of the lights. A small plug inserts into each end of the fitting. Each light will have two plugs going into it except for the last one, which will only have one plug.
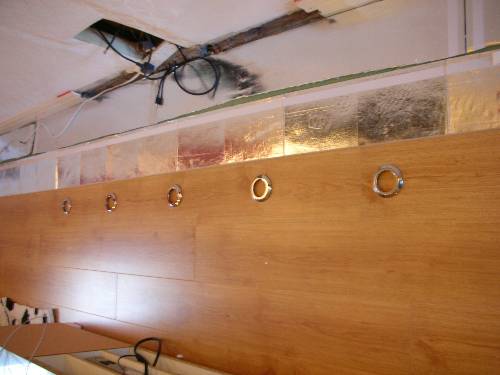
It is much easier to fit these lights at the same time that you do your floor, but it is still possible to fit them afterwards but you might have to remove a few boards. Here we are using the chrome covers to mark out exactly where the lights will be positioned. Because these are being fitted in front of a unit we are spacing them so that they run the full length of the unit. It is essential that when you mark these out that they are straight or else they would look really bad. Each one of the lights will be almost dead centre to the row of boards that it is being fitted into. Draw a feint cross using a pencil in the centre of the chrome rings.
Now remove the chrome rings and replace them with the actual lights. Draw around these ensuring that they are in the correct place.

Now mark a cross where the hole needs to be for the cable and plug. It is essential that you get this in the correct place or there is a risk that you may be able to see the cable or plug when the project is completed.

Now drill the hole very carefully. Here we have used an 8mm drill bit, which is just the right size to fit the plug through.
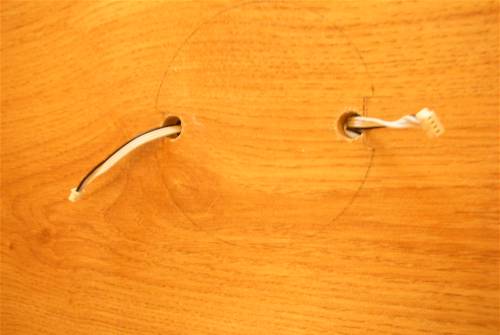
When the holes are drilled remove any dust using a vacuum cleaner and then feed the plugs through the holes

You can now plug in the connectors to the lights.
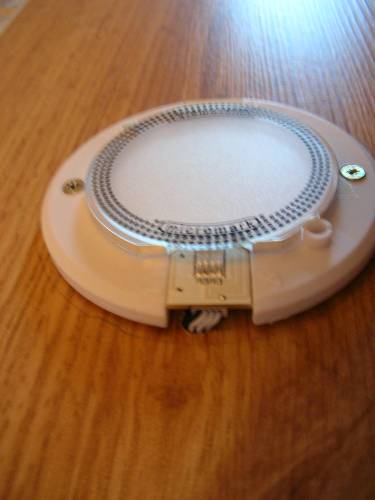
Carefully place the light back in the correct position and then screw the light to the laminate. Ensure that the cable is laid flat and not twisted or knotted.
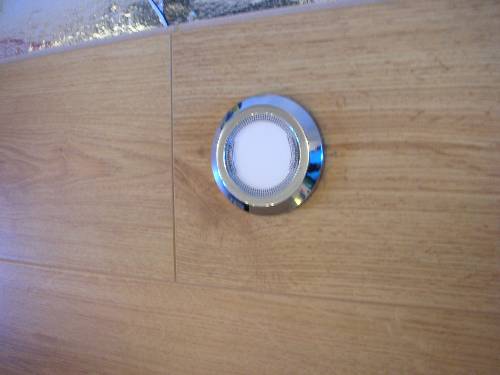
Now fit the chrome cover. This simply has two locating lugs and is just pushed into place.
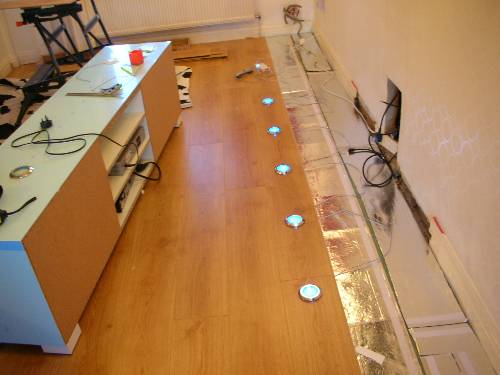
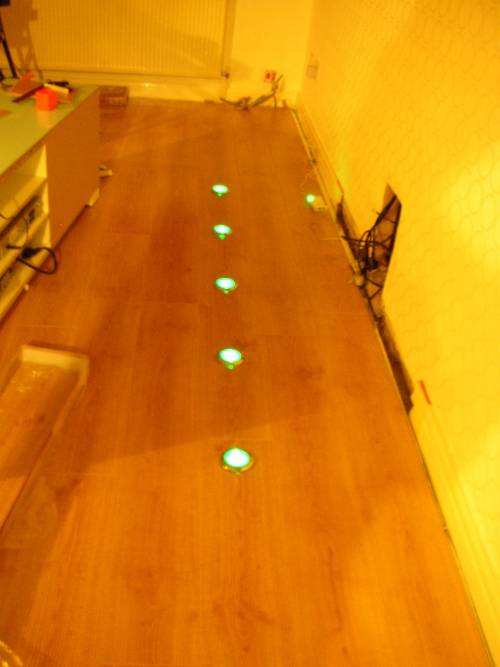
Test the lights again before replacing or fitting any boards. Here you can see that the cables are laid out so that they are flat. The controller will be placed in the unit once the floor has been completed.
Replace or fit any boards necessary to complete the floor and then fit the beading.
Enjoy your new lights!