

Crimp connectors can be extremely useful and are very easy to use as long as you have the correct tools. When crimping it is always better if you can use professional ratchet crimpers as they perform much better than ordinary crimping pliers although you can crimp successfully using ordinary crimping pliers.
| Before working on any electrical circuit you must ensure that it is isolated correctly and cannot accidentally be switched back on. Please read the article on safe isolation procedures before doing any electrical work. If you are not 100% certain what you are doing call a qualified electrician. Building regulations are changing all the time and modifying your home electrics could be against new rules and could invalidate your home insurance, if in doubt check first! |
Here we are going to be connecting a broken wire using a crimp butt connector
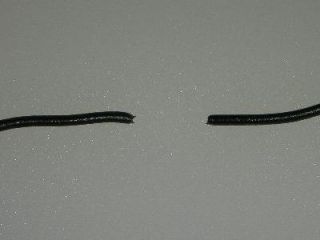
In this picture you can see the broken piece of wire.
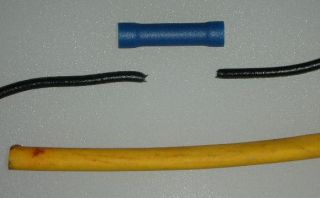
Here we have the broken wire, a crimp butt connector and some heat shrink sleeving.
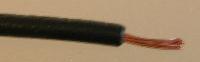
Start by stripping about 10mm of the insulation from the ends of both wires using a suitable pair of wire strippers.
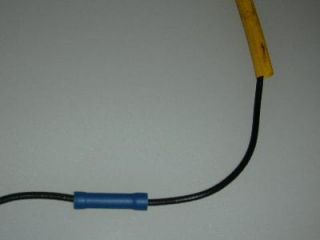
Slide the heat shrink sleeving over one end of the wire, far enough up so that it is not in the way. Now push both ends of the stripped cable into the butt connector
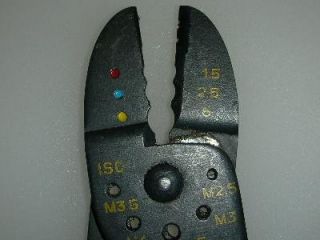
We are using a pair of crimping pliers that would commonly be used in DIY. You will see that there are three different crimping jaws-
Red=1.5mm
Blue=2.5mm
Yellow=6.0mm

Professional ratchet crimping pliers crimp connectors in two places, where as the cheap DIY versions only crimp in one place. When using the DIY type crimping pliers you must ensure that the side of the pliers with all of the markings on is facing the wire that you are crimping.
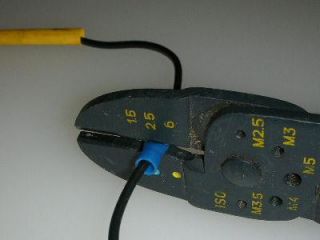
Now crimp the wire on the other side of the butt connector remembering to turn the pliers so that the side of the pliers with the markings on is facing the wire.
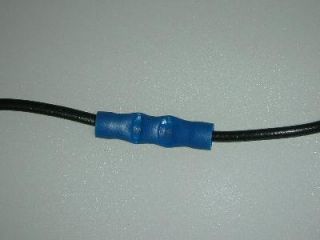
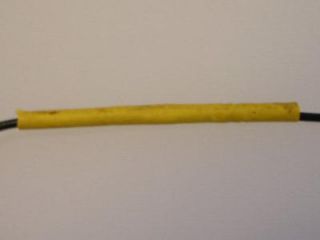
The resulting connector should look like this. Grab both wires between you fingers and thumbs and give the wires a firm pull to ensure that the wires have been sufficiently crimped. If the wires can be pulled out then you will have to try again with a new connector!
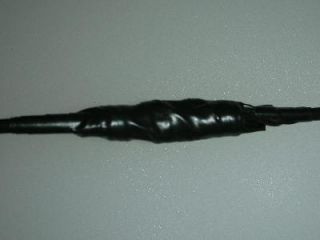
Now wrap the connector and the wires with insulating tape.
Slide the heat shrink sleeving over the insulation tape and apply heat to the sleeving using either a soldering iron or a heat gun. A naked flame is not recommended for this purpose!
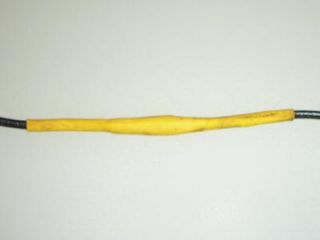
The heat shrink sleeving does exactly as the name implies an shrinks around the wire and the connector.