

Cutting acrylic sheet is normally very easy with the correct tools and is often likened to working with aluminium. Acrylic can be cut using a variety of different saws and techniques, some of which are shown below.
WHEN CUTTING ACRYLIC SAFETY GLASSES AND HEARING PROTECTION IS ADVISED AS NOISE LEVELS CAN BE EXCESSIVE AND SWARF CAN EASILY DAMAGE EYE'S
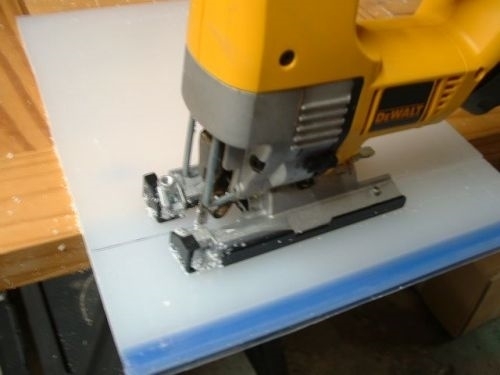
Acrylic sheet such as Perspex or Plexiglas can be cut with most types of saws. Coping saws and hack saws work well as do other types of saws that are used to cut wood or metal. For long cuts in thick acrylic it is best to use a circular saw for the straight cuts and a jig saw for the curved cuts. Special blades are available for cutting acrylic which give a much better finish than a blade designed for cutting wood or metal.
You must ensure eye protection is worn when cutting acrylic.
Circular saw cutting Perspex or Plexiglas
Acrylic can easily be cut with a circular saw, providing you use the correct blade. I have found that a saw blade that is suitable for cutting Laminates works very well on Acrylic such as Perspex or Plexiglas.
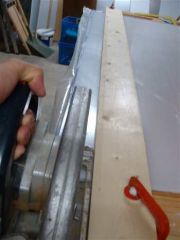
To obtain a straight cut you can clamp a straight piece of wood on top of the Acrylic that you are cutting, this then acts as a guide and enables long straight cuts with little difficulty.
Scribe breaking acrylic
Acrylic sheet can be cut using the scribe breaking technique as long as the acrylic sheet is 4mm thick or less. This technique is useful for people that do not have a vast amount of saws at their disposal. To scribe break acrylic sheet you need to clamp the piece securely to a bench and a clamped guide is required for the scribing. Using a stanley knife you score the sheet several times along the guide, then grab the overhanging piece of acrylic and press down on it firmly. The acrylic should break in a straight line.
Scribe breaking Perspex®
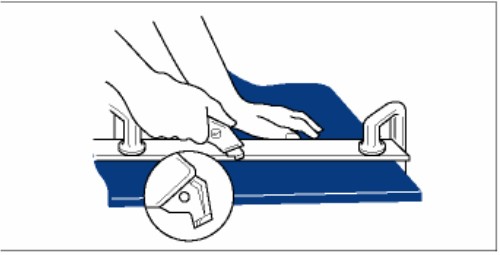
Scribe the acrylic using a sharp knife and a straight edge
Breaking along the scribed line
Laser Cutting acrylic Acrylic such as Perspex or Plexiglas can be cut on a laser cutter with very impressive results. The edge of laser cut acrylic often requires no finishing at all as the cut edge is so neat and tidy. Unfortunately laser cutting machines are too expensive for the home user and so if laser cutting is required it is best to seek a suitable firm that can do the cutting for you.