 |
How to replace a room stat |
How to replace a mechanical room thermostat with a digital programmable room stat.
RF Lightings step by step guide
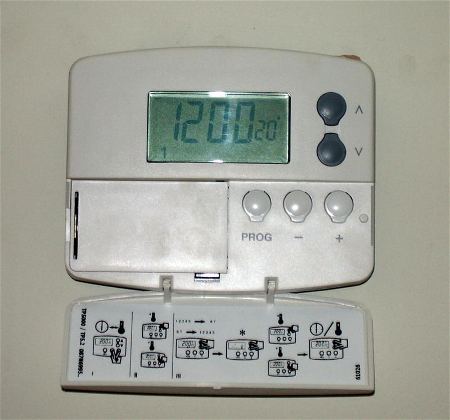
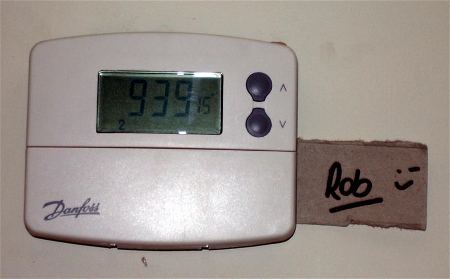
The photos are of a sunvic (Same as honeywell) stat being replaced with a Danfoss programmable stat.
| Before working on any electrical circuit you must ensure that it is isolated correctly and cannot accidentally be switched back on. Please read the article on safe isolation procedures before doing any electrical work. If you are not 100% certain what you are doing call a qualified electrician. Building regulations are changing all the time and modifying your home electrics could be against new rules and could invalidate your home insurance, if in doubt check first! |
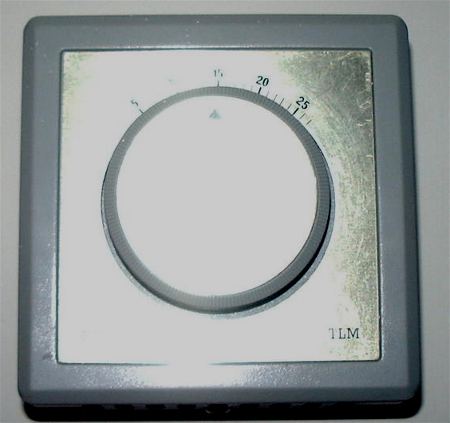 |
Select the stat you wish to replace. |
 |
Switch off the mains supply to the stat and make sure you follow safe isolation procedures |
 |
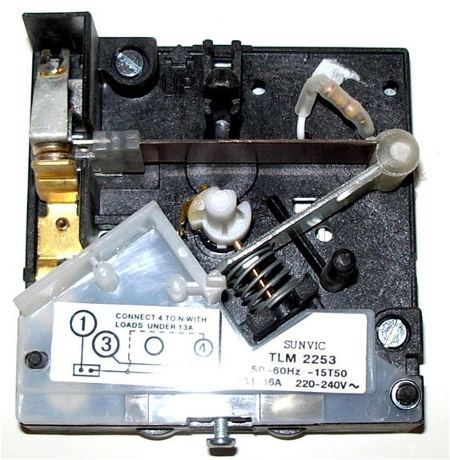
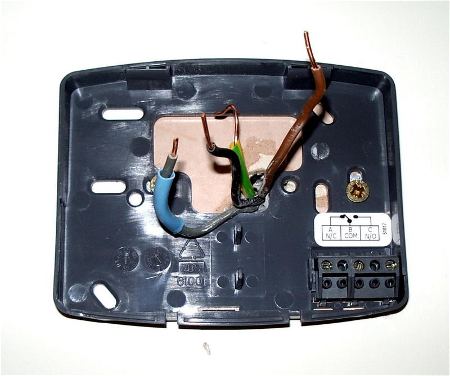
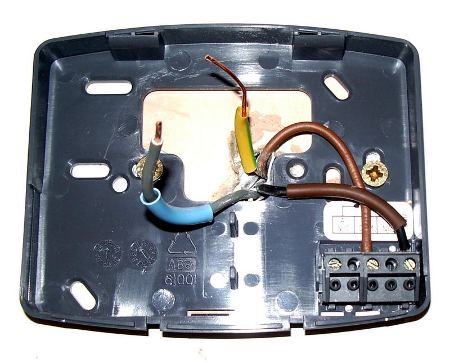
Carefully expose the connections by hinging the translucent cover open. Write down which wire connects to each terminal, or take a digital photograph. |
 |
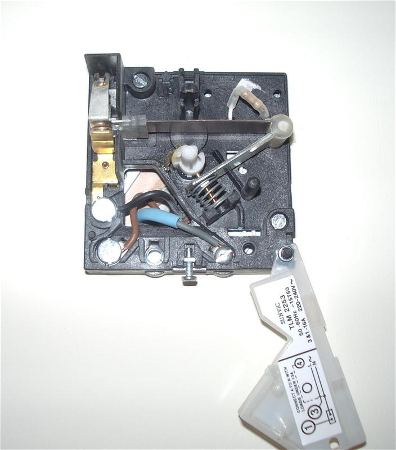
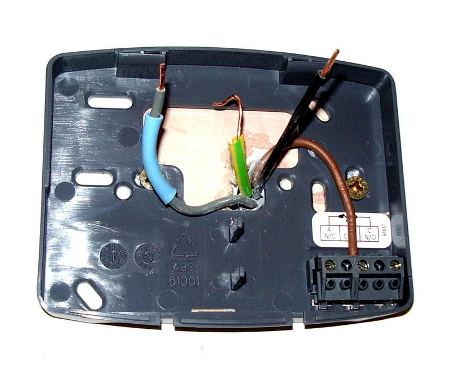
Undo the terminals, and remove the old stat from the backplate. |
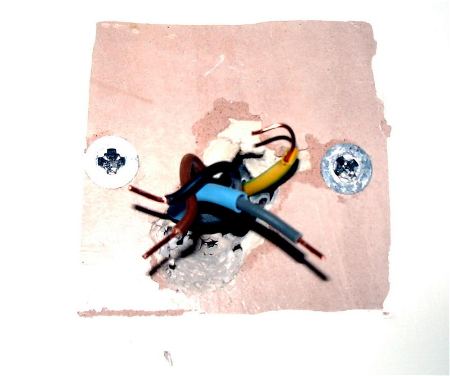 |
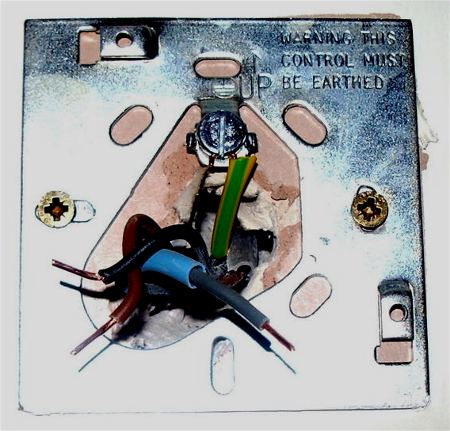
Disconnect the earth from the backplate, and remove the backplate from the wall. |
 |
Fix the backplate of the new stat to the wall |
 |
Connect the permanant live to the common terminal of the new stat. (In this case the brown wire to terminal B) |
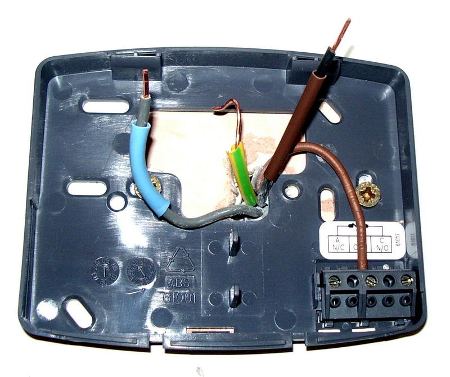 |
If the cores of your cable do not have coloured sleeving on to identify their function, then the black (switched live) should be sleeved brown, and the grey (neutral) should be sleeved blue |
 |
Connect the switched live (black wire with brown sleeving) to the normally open (N/O) terminal. (In this case it is terminal c) |
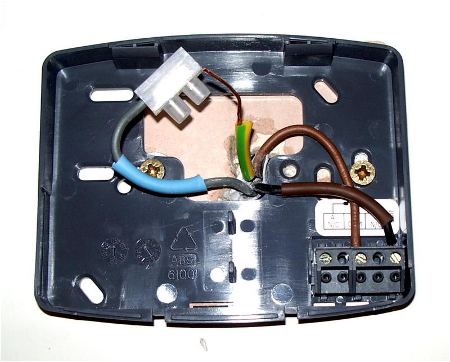 |
Place the neutral wire into a piece of strip connector, as the digital stat does not require a neutral. Make sure the connector is positioned so it does not foul any part of the stat when the front is put on. |
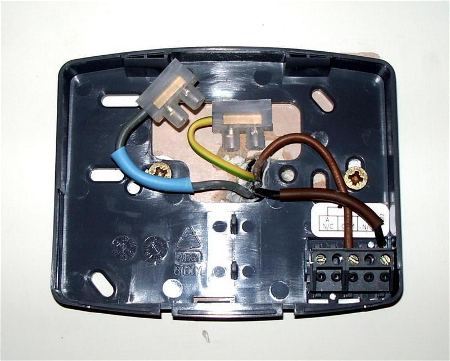 |
If your stat does not require an earth connection, then connect the earth wire into a piece of strip connector. If your stat does require an earth connection, then connect the earth wire to the earth terminal. Make sure the earth wire is sleeved with green and yellow sleeving |
 |
Clip the front part of the stat onto the back plate. |
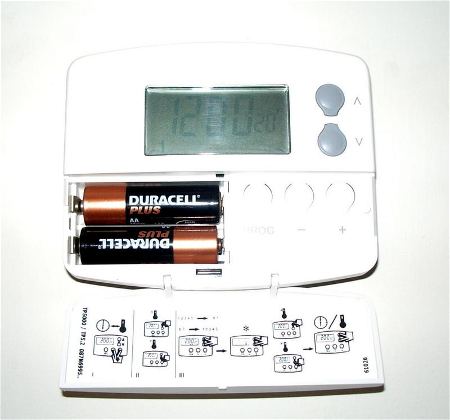 |
Install the batteries, ensuring they are installed the correct way around. |
 |
Fit the battery cover and programme the times. |
 |
Switch back on the electicity supply to the boiler, and check for functionallity. |
 |
Make your self a nice cup of tea. You deserve it! |
|
|
|
|---|
ultimatehandyman privacy policy