

Here are instructions on how to replace the cartridge on a waterfall tap, the cartridge will often need replacing if the waterfall tap is leaking or dripping.
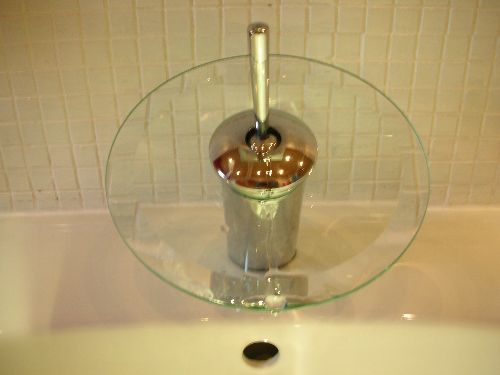
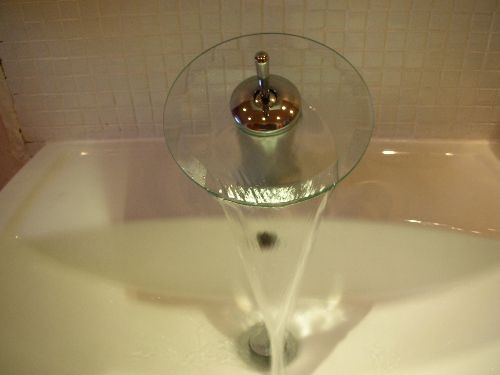
This is a waterfall tap that has recently been dripping when the lever is in the off position. We are going to fix this by replacing the cartridge inside.
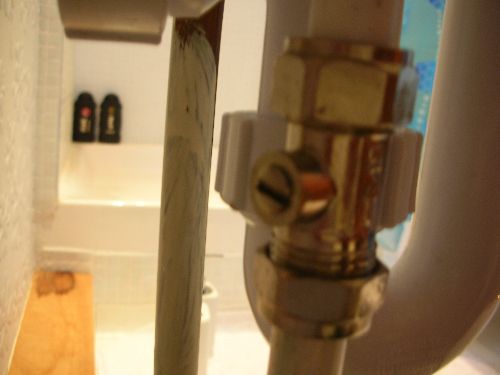
The first step is to isolate the water supply. If your tap is fitted with isolation valves on the hot and cold supply pipes you can isolate the water by turning the screw to the closed position like in this picture. If you do not have isolation valves fitted then you will have to isolate the water elsewhere.
Once you are sure that the water has been isolated you can put the plug in the waste fitting to prevent any small components from falling into the sink waste.
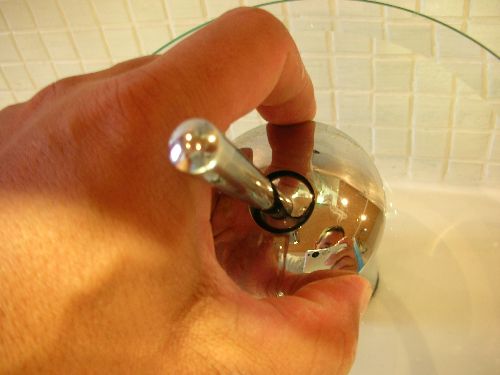
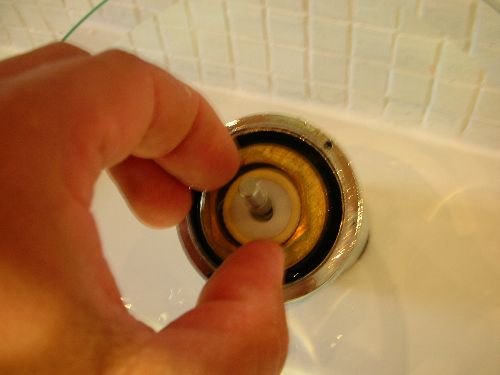
Carefully unscrew the centre piece on the tap by turning it anti-clockwise.
You should be able to do this with your hand, but if you need to use water pump pliers ensure that you protect the chrome by covering it with some thick cloth or a piece of leather first.
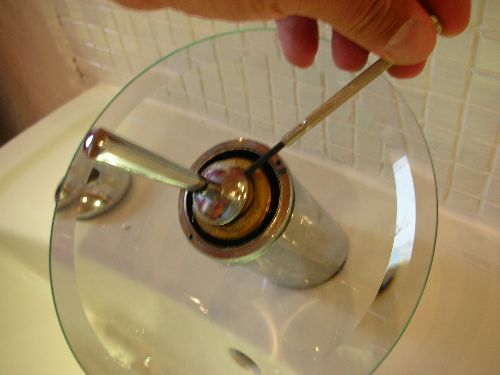
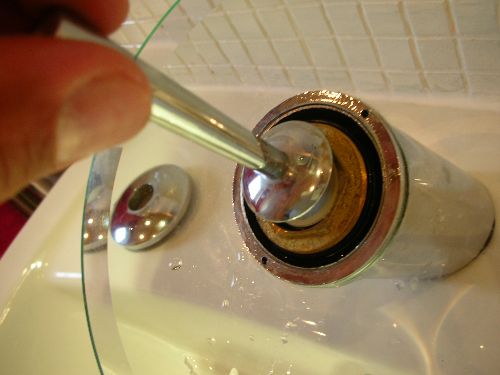
Locate the grub screw and undo this in an anti-clockwise direction using a precision screwdriver. You do not need to remove the grub screw, it just needs loosening.
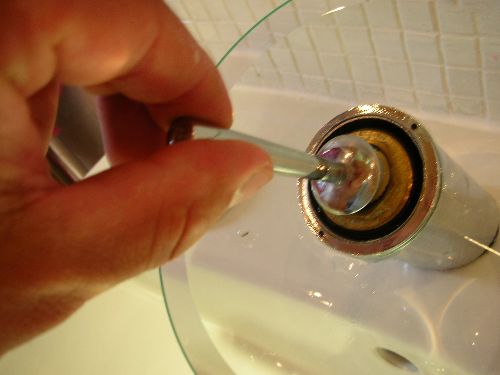
Unscrew the tap lever, this will unscrew in an anti-clockwise direction also.
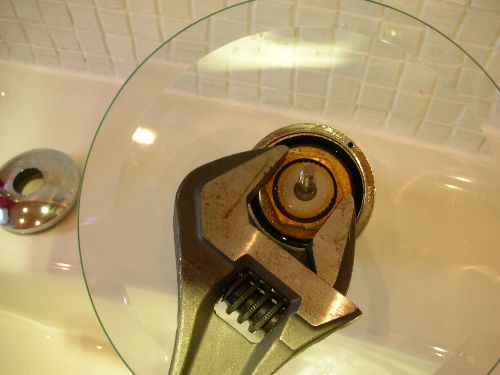
Using either the correct size spanner or an adjustable spanner undo the retaining nut in an anti-clockwise direction.
Remove the nut.
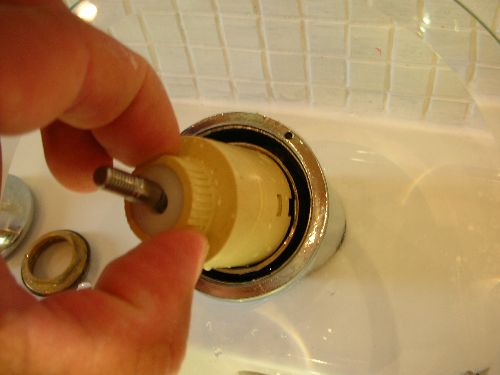
The cartridge will now pull straight out from the tap body.
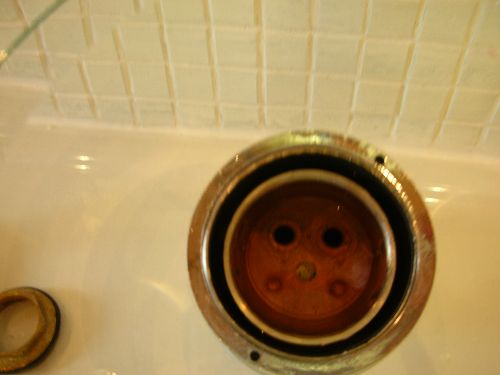
Here you can see the water inlet holes in the tap.
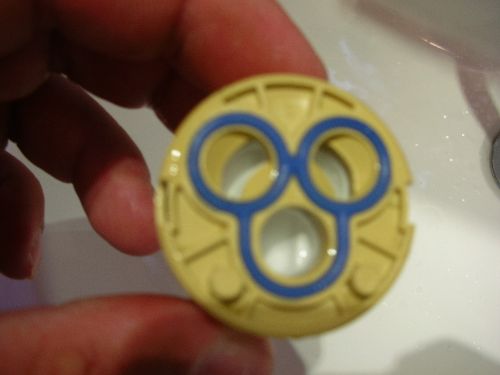
These are sealing rings that seal against the inside of the tap. Ensure that your new cartridge has these in place and that they are in good condition.
Fit the new cartridge into the tap, ensuring that it is fitted the correct way, so that the holes in the cartridge line up with the water inlet holes.
Check the sealing ring on the retaining nut for damage before screwing it back onto the tap in a clockwise direction.
Tighten the nut using a correct size spanner or an adjustable spanner.
The nut needs to be pretty tight, but be careful not to over tighten it. If the tap leaks you can tighten this nut some more!
Screw the lever back onto the tap in a clockwise direction, until it can turn no more.
Tighten the grub screw.
replace the chrome centre of the tap by screwing it in a clockwise direction.
Restore the water and test the tap.