

The traditional type of taps for baths are Deck Mounted i.e. Physically connected to the side or end of the bath and secured directly to the bath itself.
Wall Mounted taps offer an alternative to the Deck Mounted variety and a popular style is the Bar Valve, which have an industry standard configuration of a Hot and a Cold Supply with a 150mm separation in distance between the two pipes. Many exposed shower valves have the same bar design style.
What all Wall Mounted Bar Valves have in common also is a substantial weight and need to be very securely fitted to avoid working loose.
We will go through the installation process of fitting a set of Wall Mounted Taps to a stud work wall – a solid wall process would be similar, with just a requirement to chase out sufficient room for the pipe work to go up and behind the connectors.
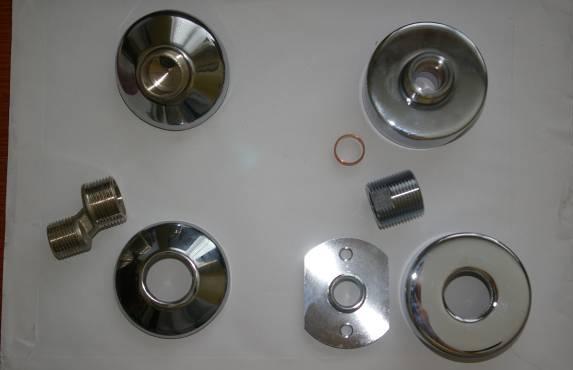
There are a number of different mounting kits that can be used to secure the taps. None actually came with the taps in this case and I obtained two different styles as shown:
The set on the left shows an S Union connector with a simple chrome cap, but does not provide a very secure mounting in my opinion.
The set on the right shows a mounting kit made by Bristan that is significantly more substantial, with a strong mounting plate that can be screwed to the wall or stud work.
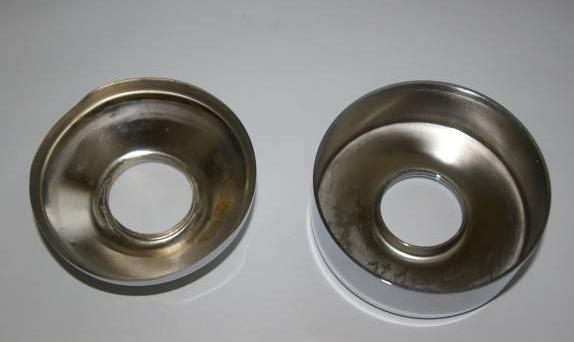
As an example of the difference, the picture below shows the cap from the S Union kit and the cap from the Bristan kit and the variation in the thickness of the metal is evident.
Note that there are other kits available, so the actual fitting details may vary from the following write-up, but the principles will still be good.
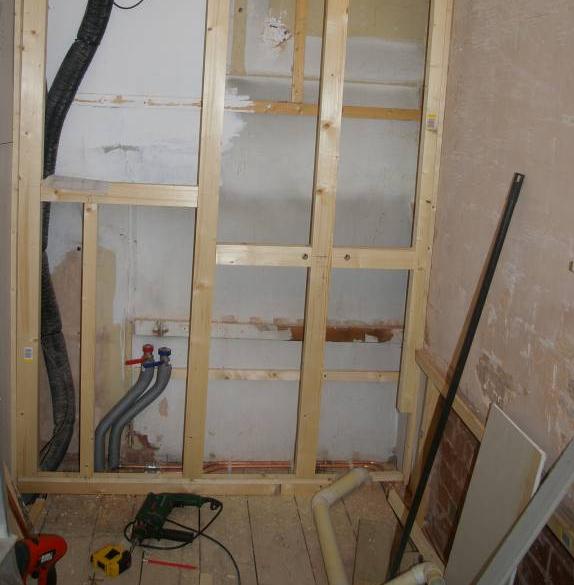
So we have the mounting kit and the tap, so we will now start the fitting procedure. In this installation, the stud work partition is new, so it was straightforward to ensure suitable battens were in place where the taps were to be installed. If you are using pre-existing stud work, you may have battens in the right place, or you may need to add supplementary batten work to suit.
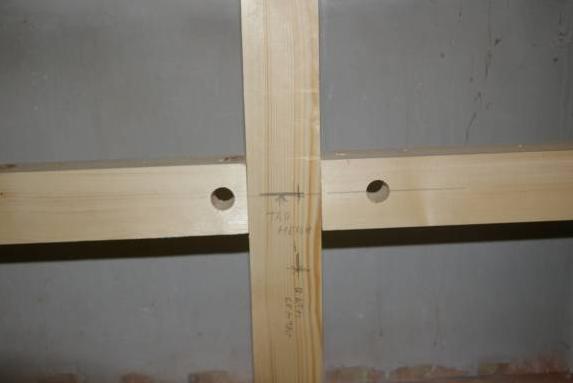
Holes were drilled to allow the pipe work to pass through – I used 20mm holes to allow some movement and to ensure that the pipe work could be routed ok (I decided to use bent pipes to avoid any joints behind the false wall and this needed a certain amount of ‘manoeuvring’ space)
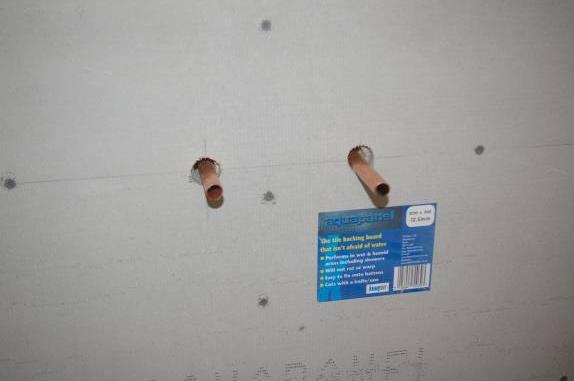
Then the wall board was fitted, holes drilled through to match the stud work holes and the pipe work routed through. In this case, as I used bent pipe work with a ‘swan neck’ bend (see the Pipe Bending ‘How To’ for the pipe work) to the top part, it meant I could have a reasonable amount of pipe exposed and then push back the excess rather then needing to cut the pipe close to the wall

Next step is to install the mounting plates that screw to the wall and then secure the pipes to the mounting kit.
The Bristan kit being used incorporates a built-in connection system using olives and a compression fitting that is accessed from the front rather then behind the wall, which makes subsequent maintenance much simpler. The fixing screws are then screwed through into the batten making a very secure fitting of the mounting kit onto the stud wall.
Assuming the wall is to be tiled, it is important to allow enough slack in the pipe routing so the mounting can be loosened off and tiles installed behind. Note that this step is almost always needed as once the caps that cover the mounts are fitted, the amount of fitting visible that the tap fits onto maybe insufficient, depending on the tile and adhesive thickness – a dry test run is suggested to check.
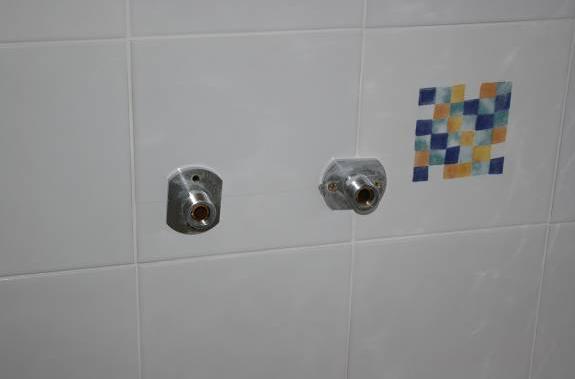
The tiles are then fitted and grouted, with cut outs for screws and pipes and screws tightened.
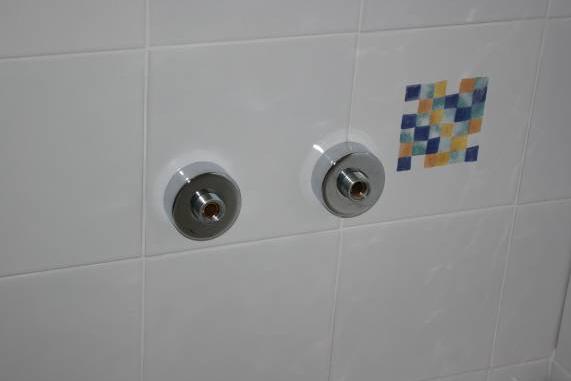
The Cover Caps are then screwed on the mounting kits, covering all screws
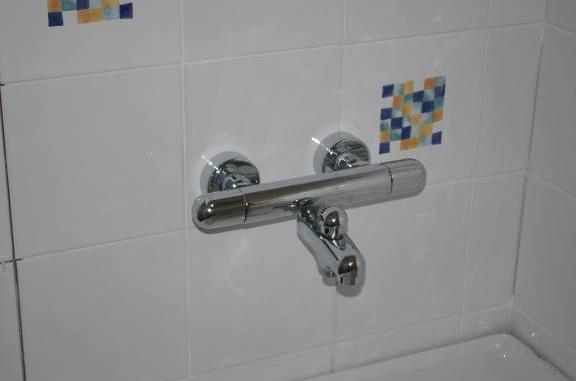
Finally, the Wall Mounted Tap is fitted In this case, I found it necessary to have a few wraps of PFTE tape to seal the fitting of the valve to the mounting kits.