

How to install a tubular latch (T latch)
Tubular latches are used on internal doors and are opened by either turning a knob or by using a lever handle.
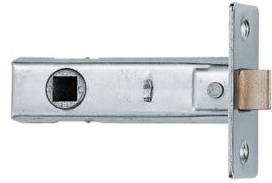
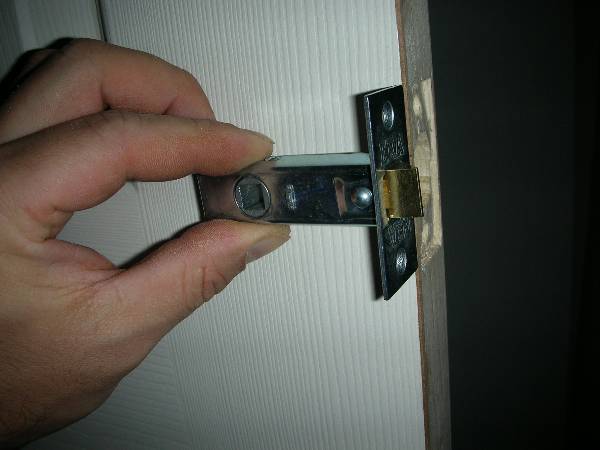
Tubular latches come in several different sizes, mainly- 63mm (2 1/2 inch), 76mm (3 inch) and 95mm (3 3/4 inch) The longer Tubular latches are used when there is a small distance between the door furniture and the door casing, for example when fitting door knobs you need a longer tubular latch than you do with a Lever as you have to grab the knob to open it to open the door.
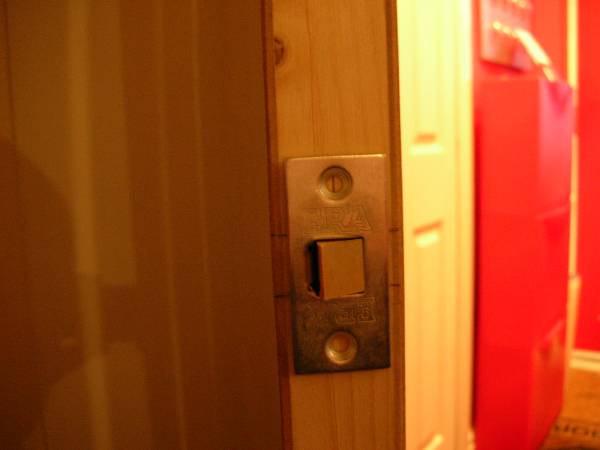
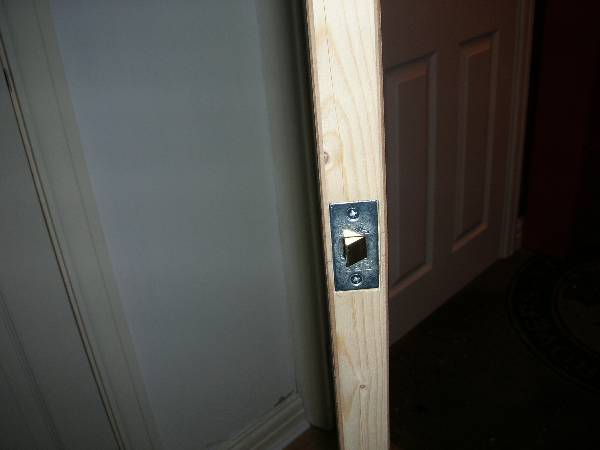
Here we are fitting a new door and so the striker plate for the tubular latch is already fitted to the door casing.
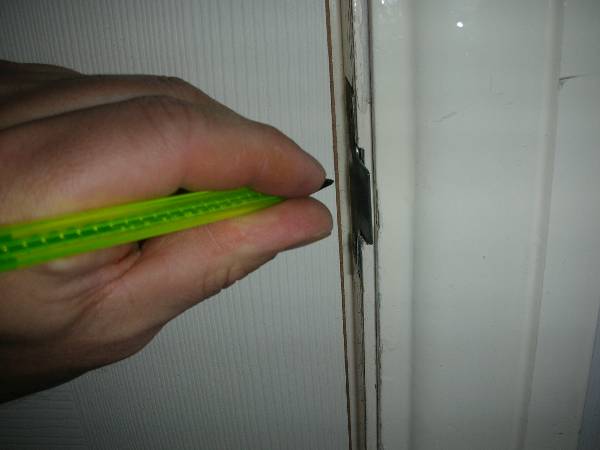
Here we have marked where the Latch needs to be in order for the door to close correctly.
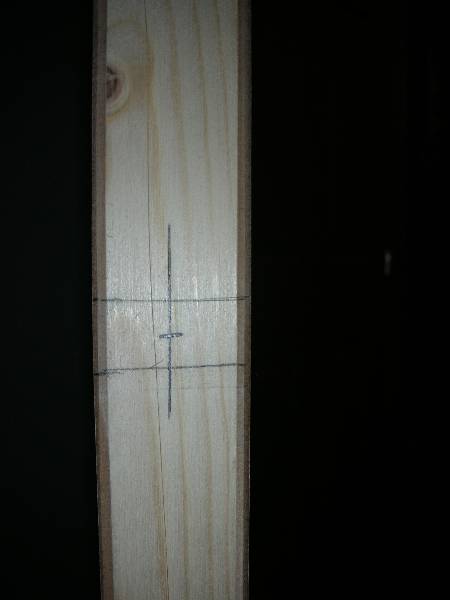
The two lines are where the top and bottom of the tubular latch need to be. Then a line is drawn down the centre of the door and the centre of the two lines is marked, this is the drilling mark.

Here you can see that the latch is aligned with the marks on the edge of the door.
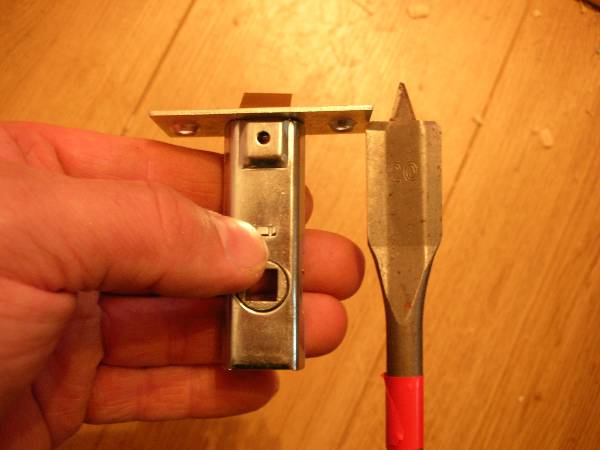
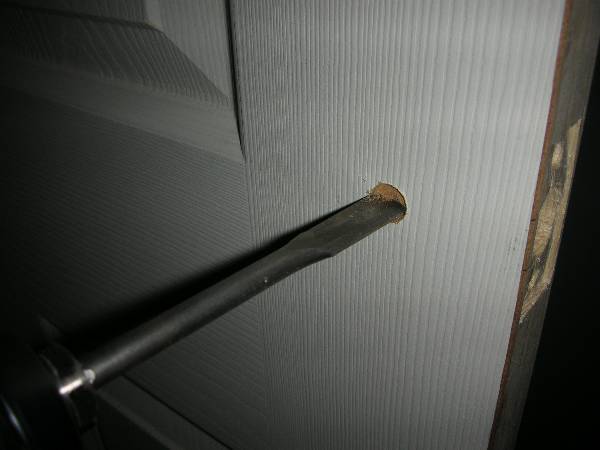
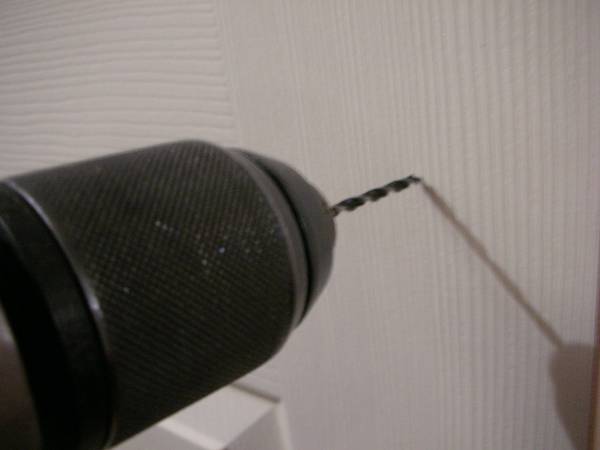
Obtain a wood drill which is the correct size for your tubular latch and wrap some red tape on the drill so that it marks the correct depth to drill for the tubular latch.
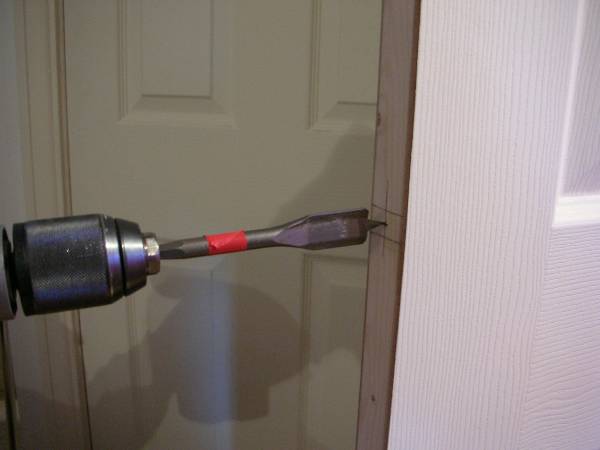
The drill must be kept square to the door, if the drill is not square to the door then the drill bit can exit at the side of the door and can ruin it.
Drill the hole to the correct depth on a medium speed.
Ensure that all wood chips and dust are removed from the hole and then position the tubular latch and draw around it.

Remove the latch and you are left with a pattern to follow. You will notice that I have also marked the screw holes as these are often proud of the latch and require countersinking. Carefully cut around the marked are using a sharp knife, such as a stanley knife.
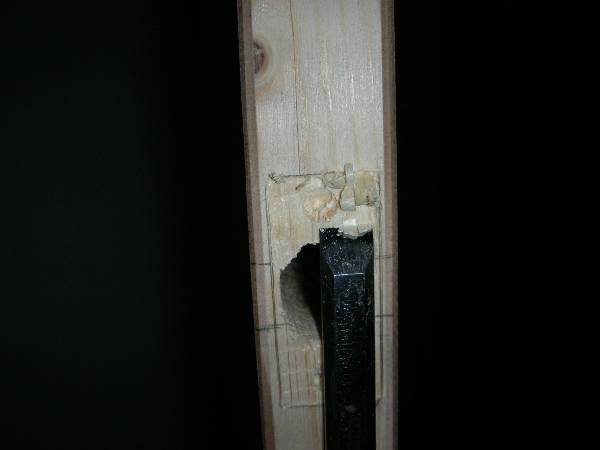
Now remove the wood to the correct depth using a sharp wood chisel.
The latch should look like this, once it has been rebated.
Now we need to mark the spindle hole and so remove the latch and then hold it alongside and mark the position of the spindle using a pencil.
Drill the hole slightly bigger then the size of the spindle. Take your time with this hole and again ensure that the drill is kept square to the door. When the drill bit starts to exit the other side, stop drilling and then finish off the hole by drilling from the other side.
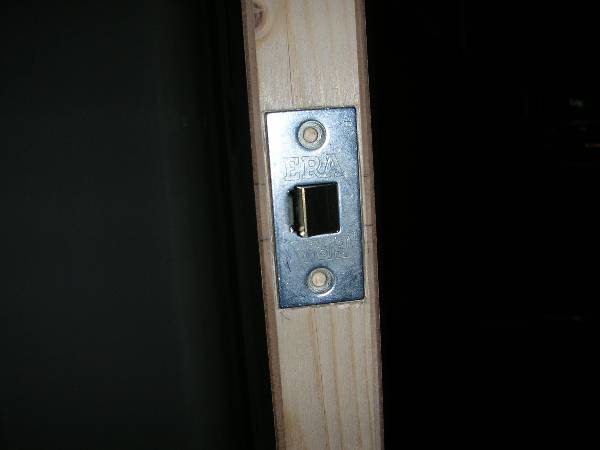
Clean out the hole for the tubular latch and then insert it, ensuring that it is the correct way around. Fix the latch with the screws provided.
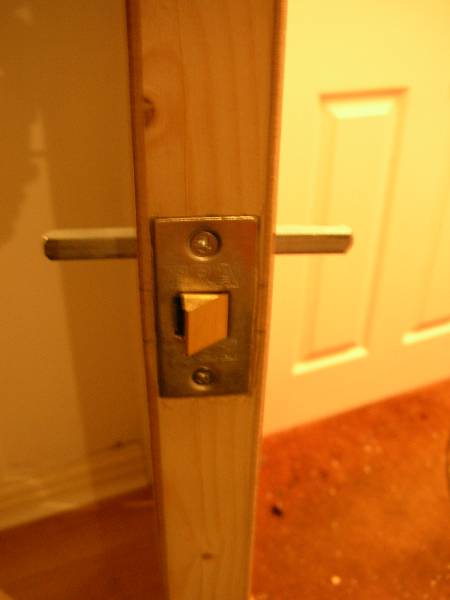
Now insert the spindle through the door and the tubular latch. On some doors the supplied spindle is too long and so it may require shortening with a hack saw.
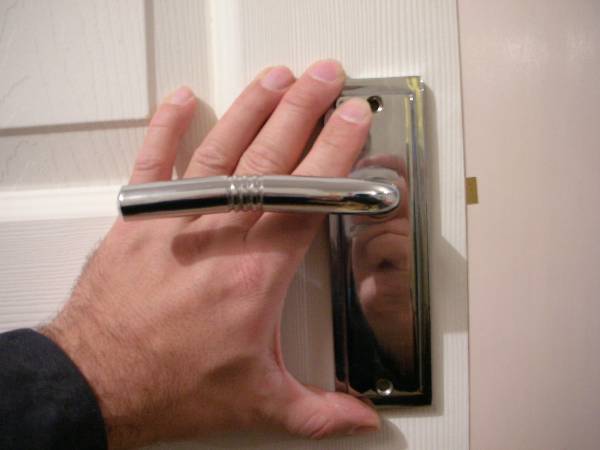
Place the handle onto the spindle and ensure that the handle is straight and then mark the screw holes using a pencil.
Drill a small pilot hole for the screws.
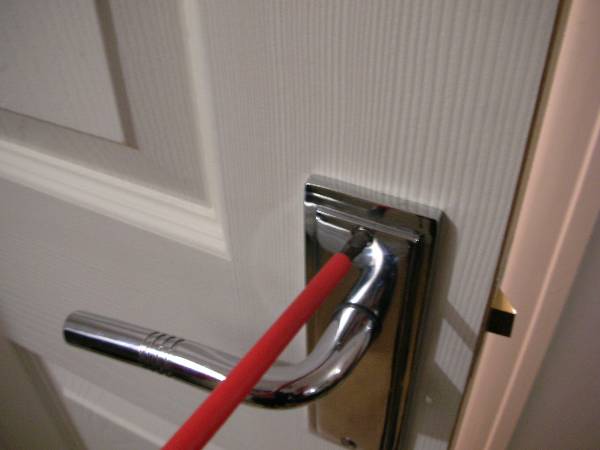
Fasten the handle to the doors using a suitable screwdriver. Ensure that the driver is a good fit, because if you slip off you might scratch the new handles.