

Electrical back boxes normally only come in two sizes, single or double although back boxes for multiple double or single accessories are now available. Single boxes are used for light switches and single gang sockets or FCU and double back boxes are used for double sockets. Here we are going to fit a double metal back box.
| Before working on any electrical circuit you must ensure that it is isolated correctly and cannot accidentally be switched back on. Please read the article on safe isolation procedures before doing any electrical work. If you are not 100% certain what you are doing call a qualified electrician. Building regulations are changing all the time and modifying your home electrics could be against new rules and could invalidate your home insurance, if in doubt check first! |

There are several different depths of box depending on what it is to be used for, a 16mm Deep box would be great for a light switch but useless for a 10mm shower circuit. A 47mm deep back box would be more suitable for a shower circuit, almost three times deeper than that for a light switch. Back boxes need to be set at the correct level and also be sunk to the correct depth, this is not normally difficult but can be if the material that you are sinking the box into is of poor condition! The heights at which sockets and light switches are now positioned is covered by new regulations for new houses, if you are adding to additional wiring in your own home you can put the sockets/switches at the same level as existing sockets.
Height of sockets in Habitable rooms | Height of sockets in Kitchen
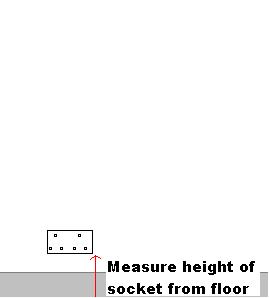
Start by measuring the distance of the socket from the floor-
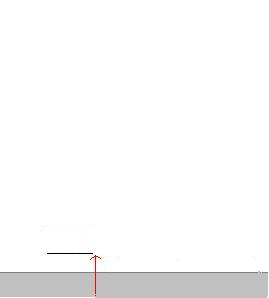
Then measure this distance from the floor and mark a line using a spirit level-
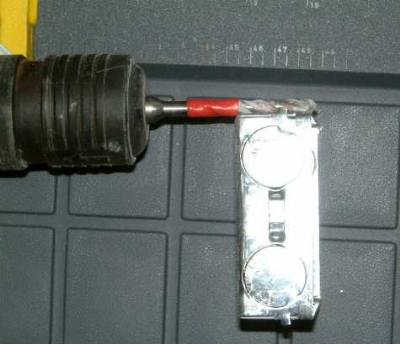
Now obtain a suitable back box and hold it onto the line and draw around it. Using a hammer drill and masonry bit you are going to drill a series of holes where the back box is to be sunk but first measure the depth of the back box and mark the drill bit with tape so that you drill the exact depth-
Now "pepper pot" the inside of the lines that you have drawn using a hammer drill-
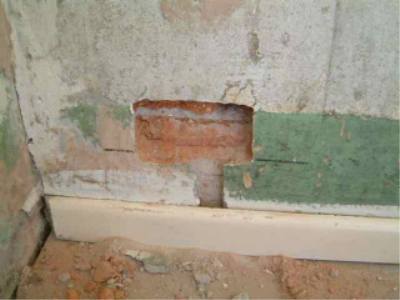
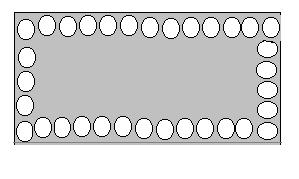
Now chisel the masonry away using a bolster chisel and hammer to the correct depth. In old plaster or if the brickwork is poor this can be very difficult and can lead to large amounts of plaster falling off!
This is what a cut out should look like, don't worry if more plaster falls off as it is not too difficult to repair. In the instance above a plasterer is plastering the whole room, this is an ideal time to add sockets etc!
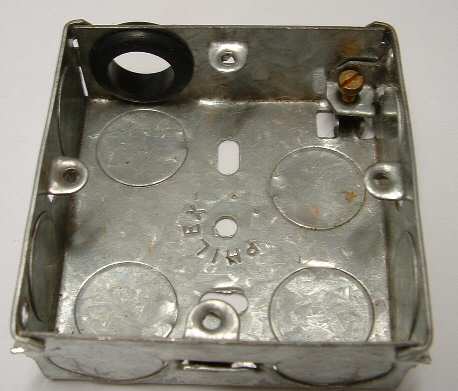
Knock out one of the blanks in the back box and insert a grommet
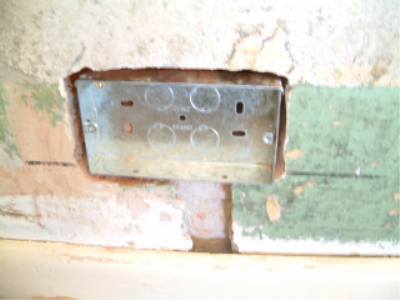
Drill through two of the holes on the back of the box and screw the box to the wall using some wall plugs and screws. Make good the surrounding area with either plaster or a suitable filler!