

Tanking is often carried out to prevent dampness or water from penetrating through a masonry surface such as concrete. Before tanking any surface you need to check the suitability of the product with the manufacturer to ensure it's suitability. Tanking can be applied to concrete floors, concrete water tanks or brick walls in order to prevent water ingress. Tanking can also be applied to basements in order to convert them into a habitable room, although this requires special expertise and is best left to professional firms that can offer insurance backed guarantees!
Tanking slurry can be mixed thinly so that it can be applied with a brush or it can be mixed much thicker and can be troweled on using a plasterers trowel.
Before mixing the tanking slurry you need to wear the correct PPE
Because the product is dusty we recommend a dust mask, eye protection and safety gloves. Ensure the floor is completely clean of any debris or dust and it possible vacuum the floor.
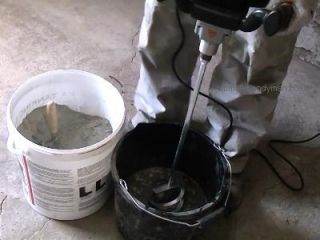
Mix the tanking slurry as per the manufacturers instructions. Here we are using KA tanking slurry, which requires mixing with clean cold water. Ensure the slurry is thoroughly mixed. A power mixer is recommended for this purpose or a high torque drill and mixer paddle can be used.
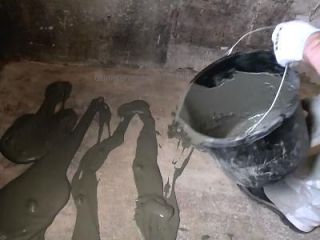
Once mixed you can empty the slurry onto the floor, starting in the corner furthest away from the door.
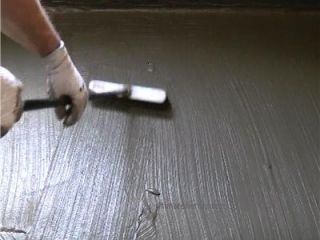
Spread the tanking slurry out using a soft broom to the desired thickness. You may have to apply two coats (follow manufacturers instructions). Allow the product to dry for the manufacturers recommended time between coats or before applying a levelling screed on top.
You need to check the levelling screed is compatible with the tanking slurry, also you need to apply the screed within a certain time frame (please check the instructions with each product)