

Here we will be fastening some shelves to a solid brick wall, your shelves may be different but most of the principles are the same.
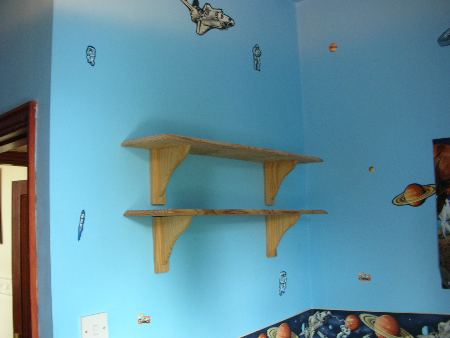
These old wooden shelves are to be replaced with some new modern alternatives that can hold much more
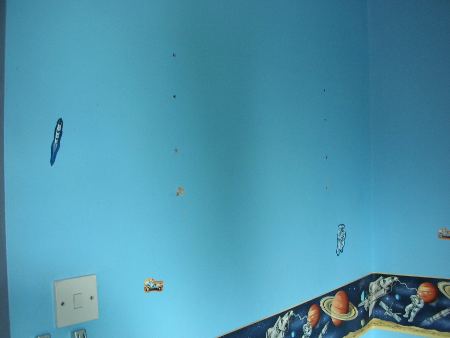
This is the wall with the old shelves removed. We will fill the old holes later on in a different project.

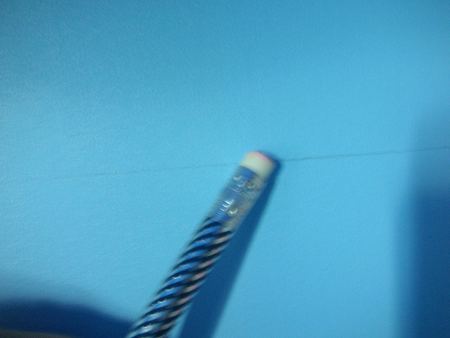
I have had to draw a diagram of this because the camera could not photograph a pencil line well! Using a spirit level draw a straight feint line across the wall where you wish the bottom of your shelf brackets or rails to start.
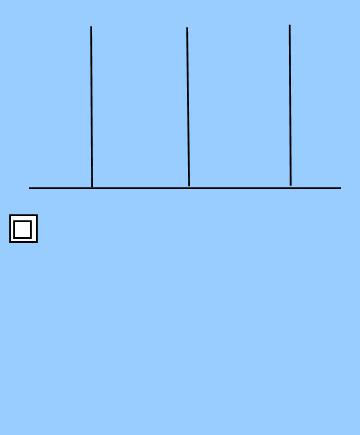
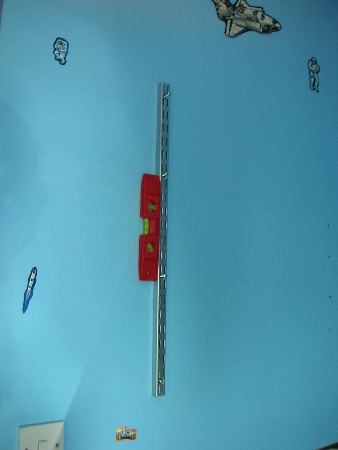
The shelves that we are fitting comprise of three upright's and U brackets. The U brackets slot into the shelf uprights and then the shelves rest on the U brackets. Draw a line in vertical line in the centre of the horizontal line that you drew before, ensuring that it is straight by using a spirit level, then at equal distances draw two more feint lines at each side of the centre line.
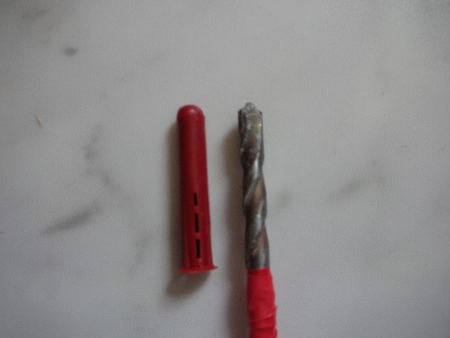
Obtain some suitable wall plugs and the correct size masonry drill bit. Then measure the length of the plug against the drill bit and mark this using some tape. You now know how deep the hole needs to be!
Hold the shelf uprights in position and then mark the drilling holes using a pencil. Now check that there is no hidden dangers buried in the wall such as pipes or cables by using a suitable detector.
Do not drill into the wall unless you are certain that no pipes or cables are buried in the wall
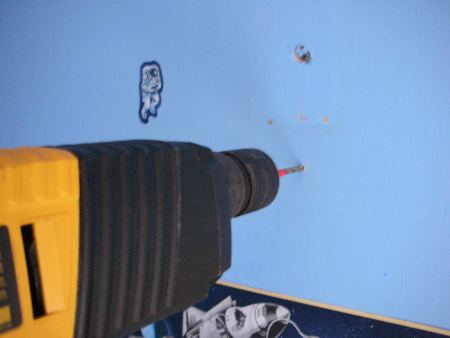
When drilling into a wall that has been plastered (like this one) it is essential that you start to drill the hole with the Hammer action on the drill switched OFF. Having the hammer action on whilst drilling plaster is not necessary and can crack the plaster.
Once you are through the plaster you can switch on the hammer action and drill the hole to the correct depth.
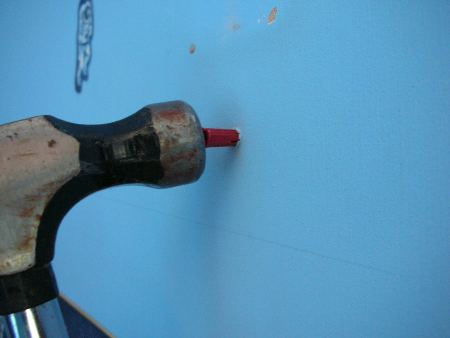
Gently tap the wall plug into the hole that you have just drilled ensuring that it goes all the way in. If you have drilled the correct size hole the plug will be a tight fit.
For plug colours and drill sizes please see here- Wall Plugs
You can now remove the pencil marks using an eraser.
After all the holes have been drilled and the plugs have been inserted we can fasten the uprights in position. To do this push the screws into the plugs and ensure that the upright is level by checking it with a spirit level.

Tighten the screws.

Repeat this process on all three uprights and attach the shelf brackets
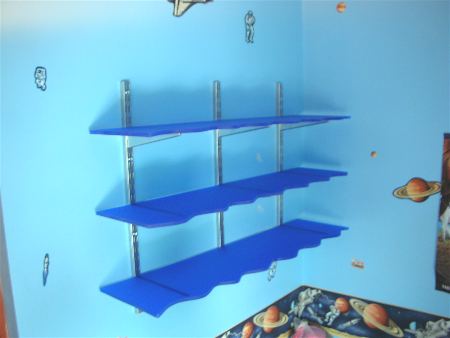
Now put the shelves onto the U brackets and secure them in place using suitable screws.