

There are a few different ways of fitting the spindles to the handrail and base rail. Here we are going to look at a few different ways.
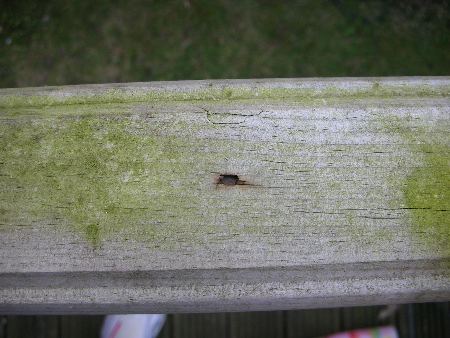
This handrail has simply been screwed or nailed from above to hold the spindles in position.. This is not the way to fix the spindles, unless of course you intend fitting another handrail on top of this one, some handrails are designed to be fitted in this way.
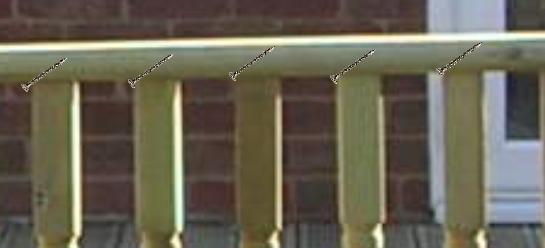
Skew nailing or screwing.
Some people recommend screwing or nailing the spindles into position. This is done by first screwing the spindles to the base rail from underneath and then screwing each spindle on an angle to the top hand rail. As the spindles are spaced out at roughly 100mm this would be very difficult especially when you get near to the newel post!

I prefer to make a set of handrails and spindles and then fasten this unit in between the newel posts. I have used wooden dowels to fasten the spindles to the handrail and screws at the base rail end.
The base rail is normally fitted the other way up, but in this instance we well be cutting wooden fillets to fill the gaps between the spindles.
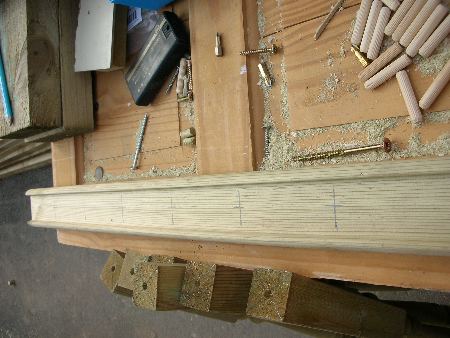
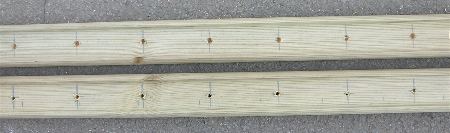
We have measured the gap between the two newel posts and now we are going to construct a balustrade to fit between the newel posts. Two lengths of handrail have been cut, one for the top hand rail and one for the base rail (the hand rail and base rail are identical).
Here I have marked out the rails at 100mm centre's.
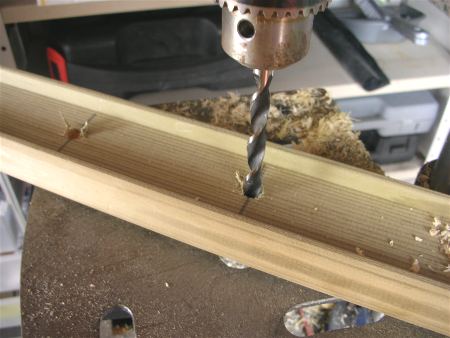
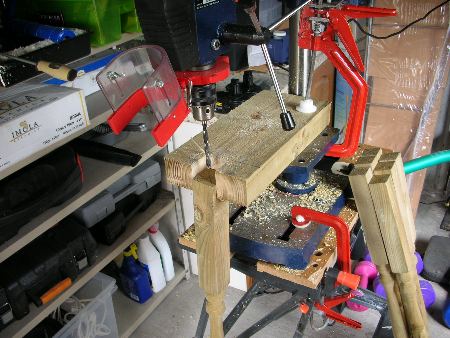
Here we are drilling the hand rail, this is drilled with the correct size drill for the dowels that we are using (8mm). Ensure that the drill depth stop is set so that the drill does not go all the way through the handrail.
When drilling the base rail you can use a smaller drill (6mm) and drill straight through the rail.
Here is the hand rail and the base rail. The handrail has been drilled with the larger diameter drill bit to accommodate the dowels. The base rail is normally fitted so that the rebated part faces the deck boards. In this example we are fitting it the opposite way as we are adding fillets between the gaps at a later date.
Here I have made a jig in order to drill the spindles. The jig is made from a joist off cut and has a square cut out of the end so that the spindles can be easily centred for drilling. Ensure that you drill this deep enough so that the dowel will fit between the handrail and spindle.
Ensure that the spindles are drilled the correct way up as some spindles have a right and wrong way up!
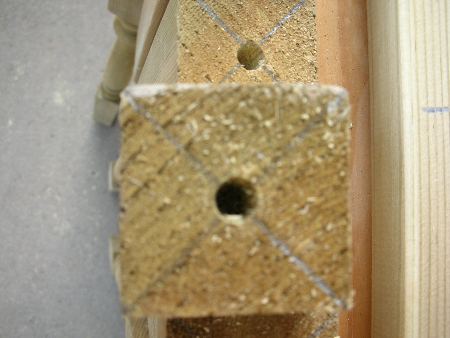
Here you can see that the spindle has been drilled in the centre.
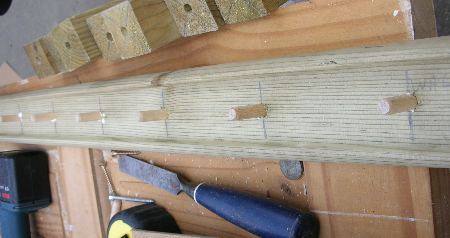
Here we have applied a little external wood glue to the dowels and then tapped them into the holes in the hand rail. Now we are going to apply some more external wood glue to the dowels and then tap the spindles onto the dowels.
Check to make sure that all of your spindles are the correct war around before fitting!
Now place the base rail on the spindles and screw through the holes into the spindles. Ensure that you use rustproof screws!
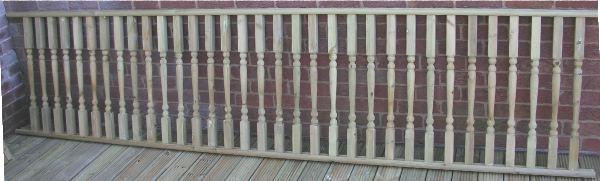
You can now turn the balustrade the correct way up and fix it between the newel posts, how to do this can be found on the handrail page.
For a large balustrade like this one you will need at least one other person to help you, This one is 14 feet long!