

Perspex® from Lucite® can be used to make very colourful and unique looking shelving, here we are making 6 wavy shelves for a child's bedroom-
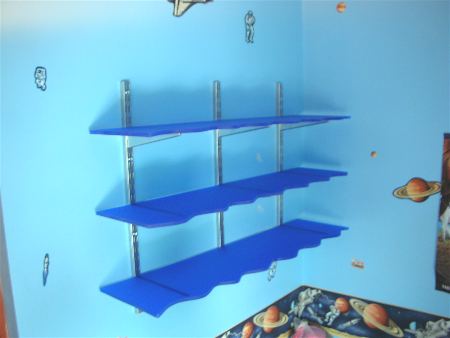
This is what the shelves will look like once they have been finished. The Perspex® is colour 7T5C and the finish is frost. The Perspex® is 10mm thick.
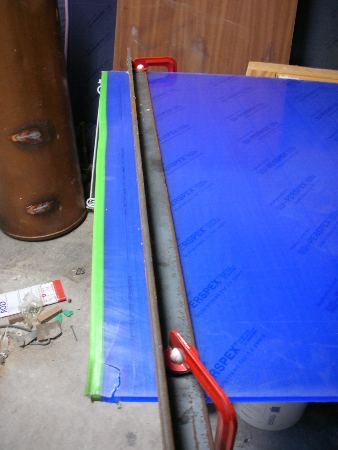
Here we have clamped a straight edge onto the Perspex®.
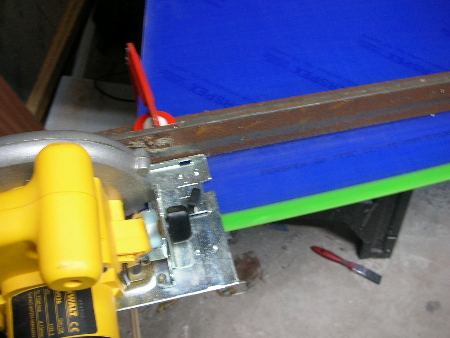
We are now going to cut down the straight edge using a circular saw. This thickness of Perspex® is not easy to cut and so it must be done slowly to prevent cracking.
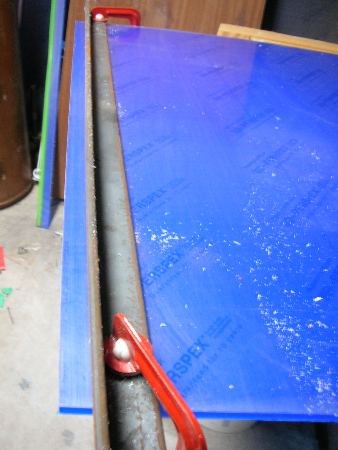
Here you can see that we have a perfectly straight edge on the Perspex®

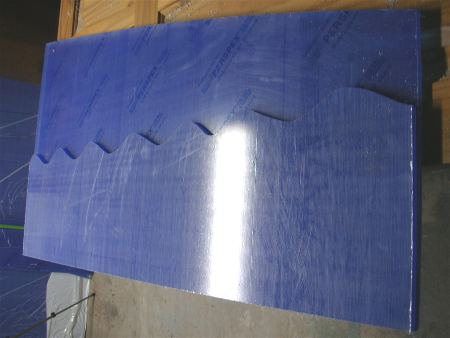
Now we are going to use a roofers square in order to ensure that the shelves are cut squarely. The shelves are being cut at 1000mm *300mm and then a wavy edge is being cut on the facing edge.
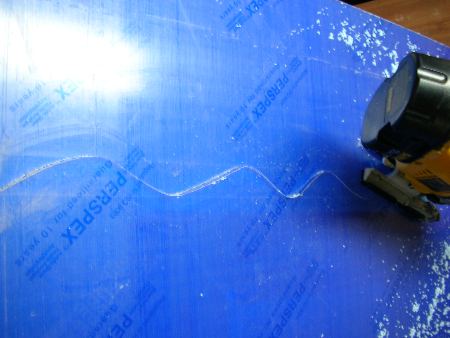
The wavy edge is drawn freehand and then is cut out using a jigsaw and suitable blade.
Here we are using the first shelf as a template and we have drawn around it using a pencil.
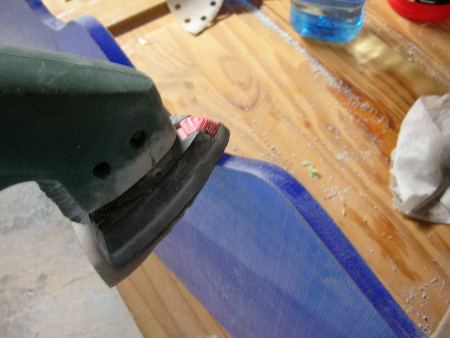
Because the Perspex® is frost effect we are just going to remove the saw marks from the cut edges. You could polish the edges if you wanted to, but it is not possible to flame polish frost effect Perspex. Once they have been cut you can remove the protective masking and fix them to the wall brackets.