

How to fit floating shelves-
This type of shelf is often called a floating shelf because there are no visible brackets. These shelf's are easy to fit and can make a room look great.

Here are the components for the floating shelf. There is a wooden shelf that has been specially rebated so that it fits over the metal bracket and conceals the bracket. There are then two small screw holes, which are used to secure the shelf to the bracket. When planning the shelf check which way you want the screws facing as you can see them afterwards. If the bracket is going to be low down then it is best if the screws are underneath, but if the shelf is going to be high then it's best if the screws are on top so that they cannot be seen.
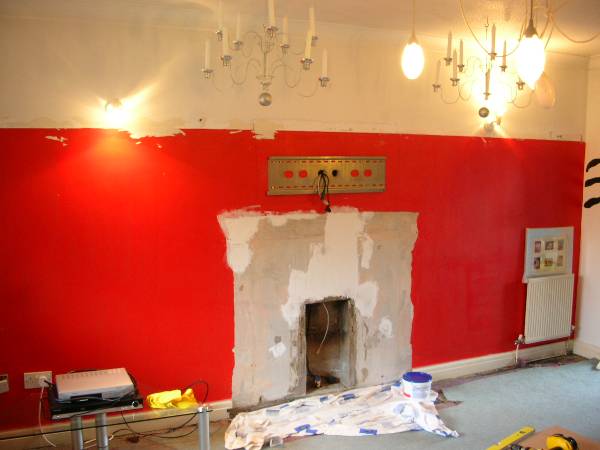
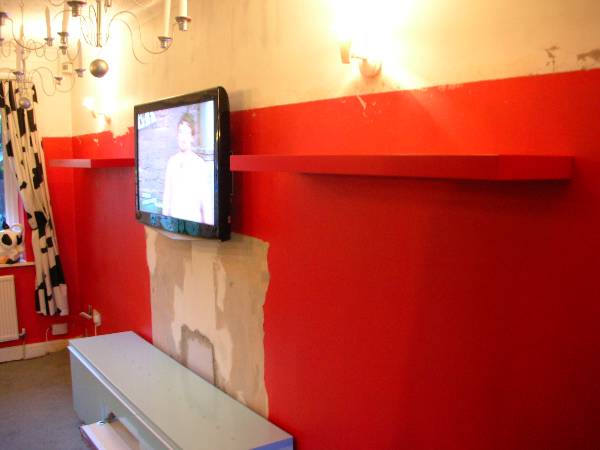
This is the room where the floating shelves are to be fastened, this is work ongoing and so the room is very busy at the moment. The bracket in the centre is for a plasma TV, the floating shelves are going to be positioned at each side of this.
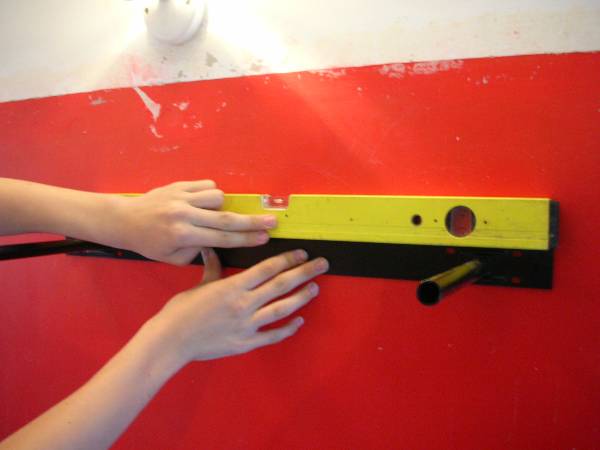
The first step is to measure exactly where you want the shelf to be fitted, once you have done this hold it flat against the wall and check that it is level with a spirit level.
Now using a pencil or marker mark out the drill holes.
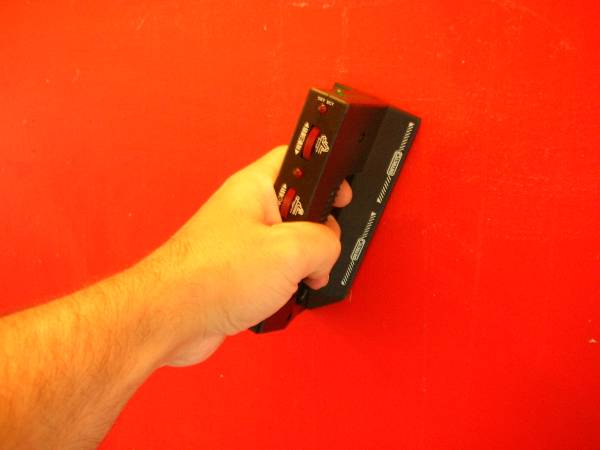
Now check where you propose to drill using a suitable detector to ensure that no pipes or cables are buried in the wall.
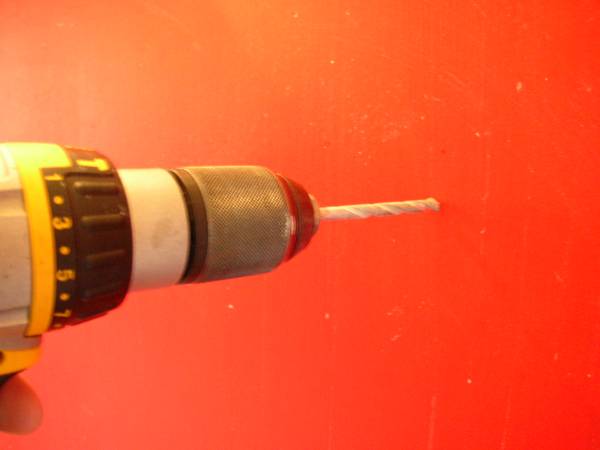
Once you are 100% certain that there are no hidden dangers in the wall you can drill the holes for the fixings.
Ensure that the holes are deep enough to accept the fixings that you are using. A shelf like this can hold different weights depending what it is fixed to.
This particular shelf can hold 15kg's on a solid brick wall or 11kg's on a stud plasterboard wall.
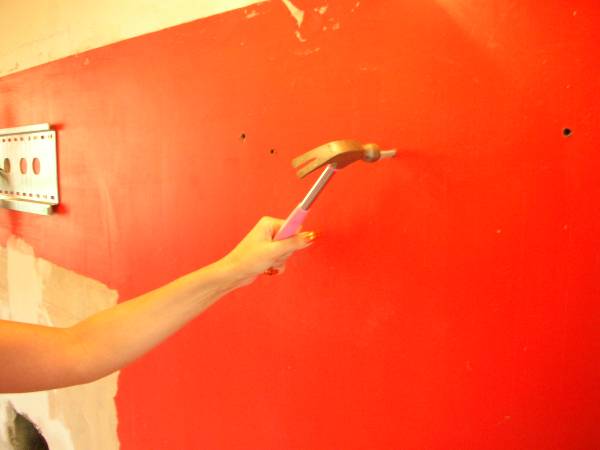
There are 10 holes drilled into the bracket, but you only need to use 5 of them and so space them out equally. This wall is Thermalite and so we are using some multipurpose plugs that are made by fischer. Hammer the plugs into the holes so that they are flush with the surface.
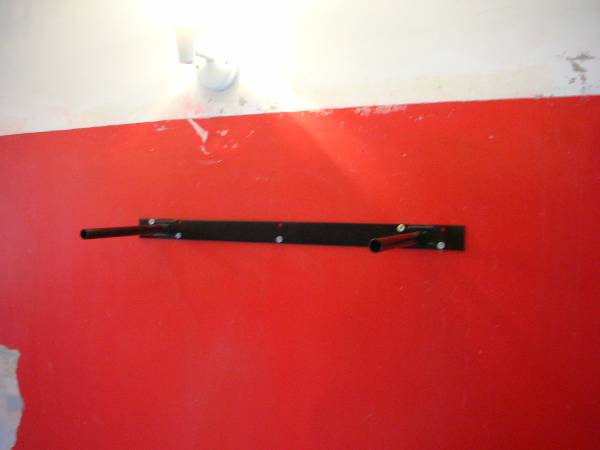
Now you can screw the bracket to the wall, ensuring that the bracket is still level. Ensure that you use the correct size screws for the plugs that you are using. It's important at this point to make sure that the securing screw holes on the bracket are facing the correct way.

Slide the shelf onto the bracket.
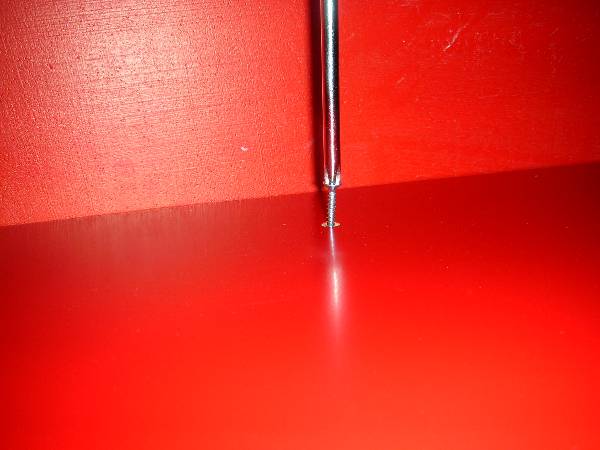
Tighten up the securing screw, this will prevent the shelf from being removed from the bracket.
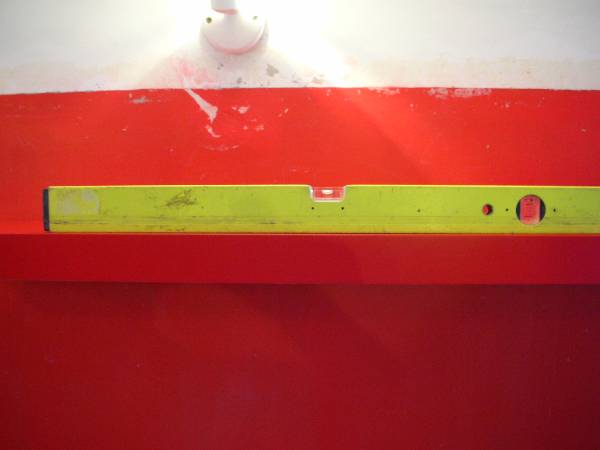
Check the level again using a spirit level.
Enjoy your new shelves!

This is what the shelves look like, once the wall has been re-decorated. For instructions on how to fix the plasma please see here-