

Removing a basin or sink is normally pretty straight forwards as long as you follow certain precautions, here we are going to remove a basin ready to install a newer basin
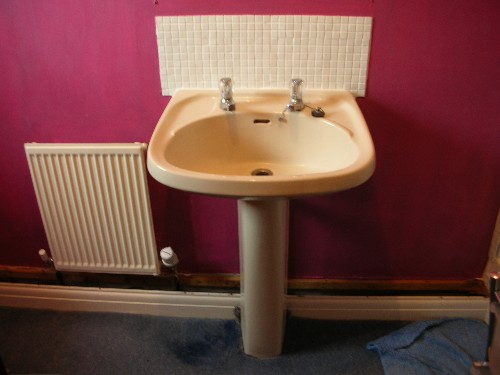
This is the old basin that we are going to be removing.
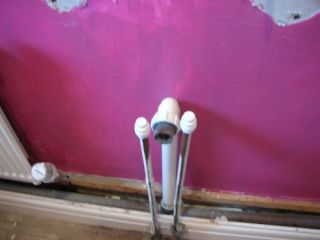
At the back of the basin there will be three pipes. Two of these pipes are the water supply pipes to the sink, the hot is normally on the left hand side. The larger plastic pipe in the centre is the waste pipe from the basin, This is normally 32mm.
Firstly we need to isolate the water supply to the basin, if there are isolation valves fitted to the pipes you can isolate the water by turning them to the closed position. If no isolation valves are fitted then you will need to isolate the water as described here- Isolate the water supply If you are fitting a like for like replacement then you can undo the nut connectors that connect the water supply pipes to the taps, how to do this can be seen here- replacing basin taps If you are fitting a different type of sink then it is easier and quicker to cut through the existing pipes as described here- How to cut pipe Undo the waste connector from the bottom of the basin waste by turning it anti-clockwise and then pull the pipe clear of the basin, the waste trap will be full of water and so it is best if you remove it completely and empty the water down the toilet pan.
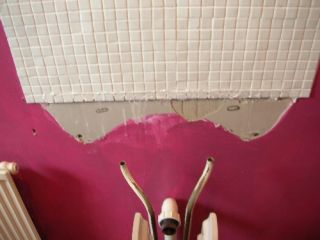
After you have disconnected all the pipes you can remove the basin retaining screws which hold it to the wall. The pedestal will hold the weight of the basin (if there is one) if there is no pedestal enlist the help of a friend to take the weight. The basin should now lift clear of the wall, if it does not check to ensure that all mechanical fixings have been removed. If the basin still will not move then perhaps it has been glued to the wall using grab adhesive or silicone. A couple of careful firm pulls should break the bond.
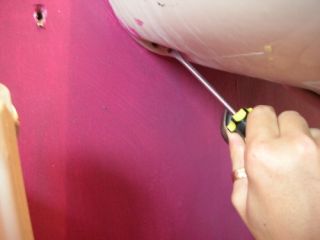
Now the basin has been removed. The pedestal is normally screwed to the floor from behind and so remove these two screws and the pedestal can also then be removed.
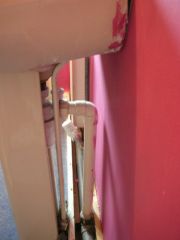
Here we have removed the pedestal and capped of the hot and cold water pipes so that the water can be restored to the rest of the house whilst we get the new basin and fittings ready.