

Shower areas are particular susceptible to damp, often over time water penetrates through the grout and soaks into the plasterboard behind causing lots of damage. By tanking the shower area you can prevent this damage as the tanking will prevent any water from getting through to the plasterboard.
You do not need to tank cement based boards such as Hardibacker as these boards are not affected by water.
We are using the Aquaseal tanking kit from Everbuild
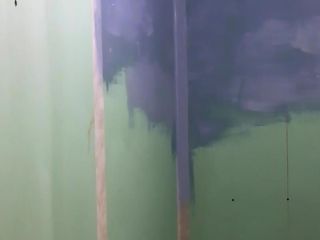
To start off with paint the whole area to be tanked with the tanking primer
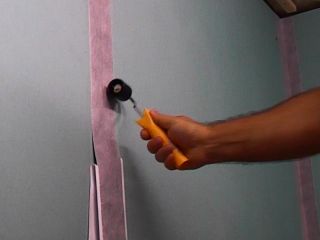
After the primer has dried you can apply the tanking tape to all joints, to do this peel off the backing paper and then apply the tape to the joint ensuring no air is trapped. A seam roller is ideal to roller the tape flat to the wall
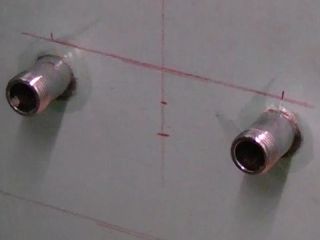
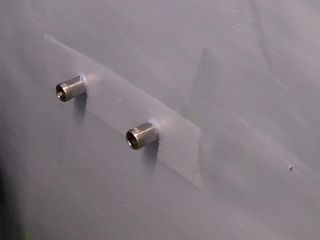
ensure any holes for pope entries are sealed using a suitable sealer
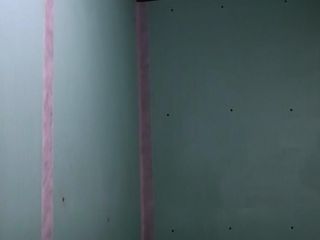
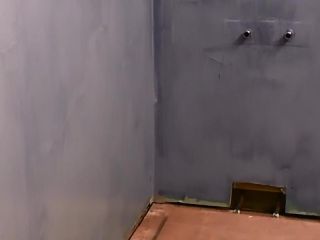
Here you can see that both joints have been sealed with the tanking tape, when doing a corner fold the tape in half and cover each board equally
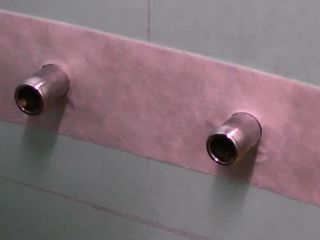
Apply the tanking tape over the pipe entries to create a water tight seal
Apply the first coat of the tanking membrane, this is like a think paint. Finish all the brush strokes in one direction
Ensure the tanking tape is covered sufficiently
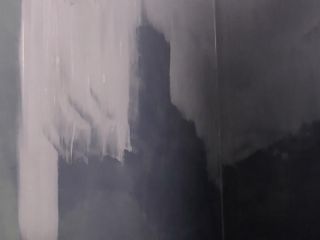
Once the first coat of tanking membrane has dried you can apply the second coat, this time finish the brush strokes in the opposite direction to last time so that they cross, for example if the first coat was applied vertically apply the second coat horizontally
Once the tanking membrane has dried you have a perfect surface to tile onto