

Repointing and how to repoint damaged walls
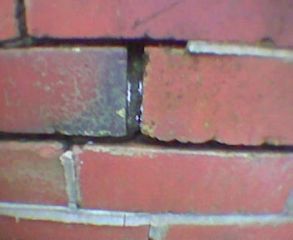
Often when you observe brickwork you will notice that the cement from between the bricks has started to fall out from the joints, this can happen on new brickwork but especially happens on old brick or stone work. The cement between the bricks is often called “pointing”.
Driving water often penetrates the cement as it ages it often becomes more porous, the water is absorbed by the cement and when the temperature outside is low enough the water freezes making it expand, this then forces the cement from in between the joints, often leaving partial or full gaps between the bricks. Although this type of damage can be caused over decades, it is important to repair the damaged pointing as soon as possible, either by repairing just the pointing that has fallen out (patch re-pointing) or by removing all the old cement on a large area and re-pointing the whole area. Patch re-pointing is fine but if the amount of damage is large it is best to do a full grind out and re-point (preferably before the onset of winter).
Care must be taken when re-pointing as there are many hazards, working at heights and using power tools. NEVER RE-POINT FROM A LADDER Always hire a scaffold tower or get a professional firm to put some scaffolding up for you! Personally I find re-pointing very therapeutic but others find it boring and laborious, if you don’t enjoy doing it, then the end job will probably not be satisfactory and perhaps it is best to call in a builder or other professional. Don’t be surprised if you get quoted a price of £500 to grind out and re-point the back of a two bedroom terraced house as this is what a builder could charge (don’t forget he’s going to need scaffolding etc.) Safety is of paramount importance when doing a job like this! You are going to be working at heights with power tools. Dust will fly everywhere and there will be noise pollution also. Chiselling the mortar from the joints is a bad idea as it causes too much vibration and can loosen all the bricks. I never use or recommend abrasive disks as these are considered dangerous, they produce far more dust than Diamond tipped disks, are noisier, harder to use and can sometimes disintegrate!
Here’s what you will probably need-
- Scaffolding, access tower or cherry picker
- A small Angle grinder (4.5 inch or 5 inch) with either a diamond tipped mortar raking blade or a mortar rake attachment and dust guide plate
- A couple of buckets, Pointing trowel, Possibly a brick jointer, Finger pointing trowel, Large soft brush, Paint brush/ watering spray
- Safety shoes, Ear defenders, Industrial gloves, Head protection, e.g. hard hat or bump cap
- Sand, cement and hydrated lime or Mastic
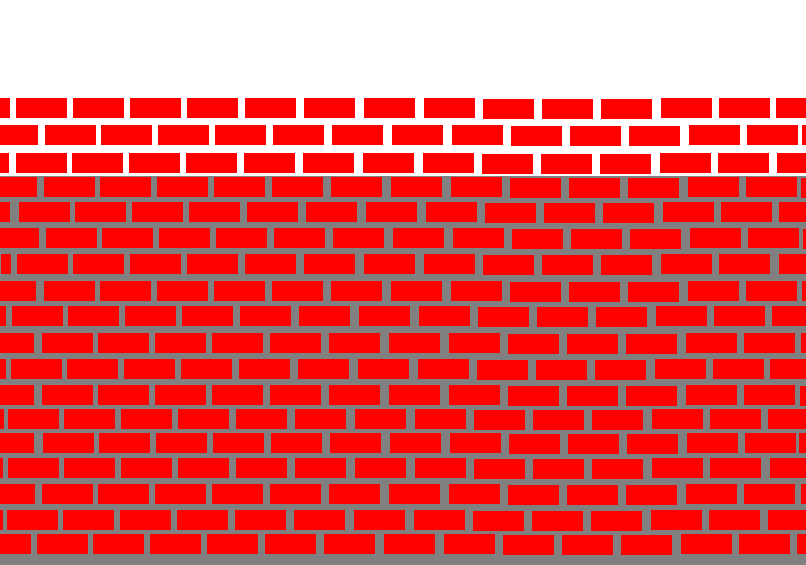
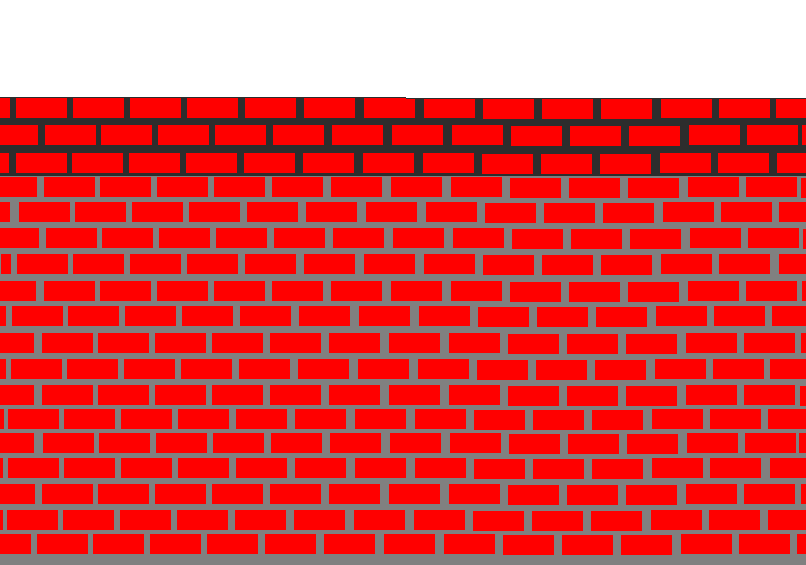
If you are re-pointing a large area always start at the top, this prevents dust from falling down onto the fresh re-pointing. Using your angle grinder and diamond tipped disk remove the cement from the horizontal joints but only to a depth of 10-20mm, then remove the cement from the vertical, be extremely careful not to score the brick as this will look amateurish, grind out the joints from approx Three courses of brick, the full width of the area that you are doing. With a large soft brush, remove all the dust from between the joints and then wet the joints with either a watering spray on fine mist or with a wet paint brush.
Mix half a bucket or mortar, this should be measured accurately as you want all the mortar to be a consistent colour! If you are using mastic then use it in place of the mortar. Mix to mortar to – 1 part cement, 3 parts building sand and ¼ part hydrated lime (this helps with movement and makes the mortar less likely to crack). You can Also add some Mortar Plasticiser to the gauging water, if required. This can make the Mortar easier to work with.. The trick here is consistency! Make it too wet and you will struggle and get it all over the bricks, it needs to be pretty firm so that if you press the mortar against the side of the bucket you can cut it with the trowel like cutting a piece of marzipan with a knife. The mortar should stand up on the trowel without sagging. Take your time and ensure you do not get it all over the bricks as this looks terrible. Re-point the horizontal joints then the vertical joints in the area that you have just ground out. When you get close to the next row of joints to grind out, put the cement somewhere safe.
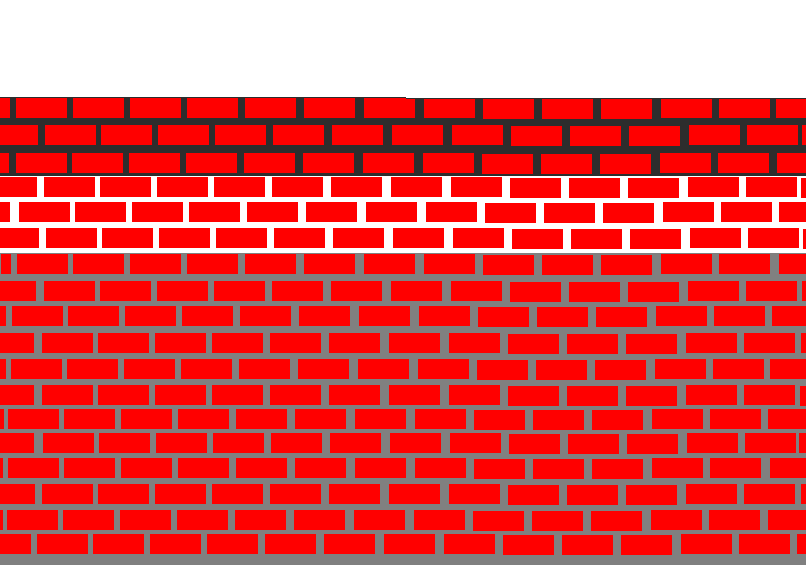
Then grind out the same size area as you did before, then repeat the pointing process until the whole area is finished.
There are several choices when it comes to re-pointing with the finish of the mortar-
Weather struck.
Strap pointing (normally only done on stone)
Flush pointing

CONCAVE (this is where the brick jointer is used)
RECESSED pointing
The Finished wall.