

Polishing Acrylic
When acrylic such as Perspex has been cut it often leaves a dull finish on the edge and also saw marks. The only time you get an edge that does not require finishing is when a laser cutter is used as this often gives an almost mirror image edge finish. Most acrylic can be flame polished unless it has a non reflective finish such as Perspex Frost, it is not possible to flame polish non reflective finishes as the heat damages the surface of the acrylic. If you do attempt to flame polish acrylic please bear in mind that it is flammable and could set on fire, for this reason polishing as described below is preferred.
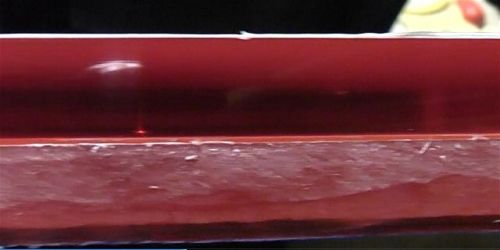
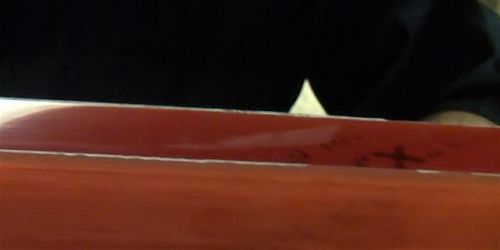
This picture clearly shows the difference between a piece of Acrylic that has been cut with a saw and a piece of acrylic that has been polished after being cut with a saw. At the bottom of the picture is the Perspex after cutting with a circular saw, the piece on top has been polished using the technique detailed below.
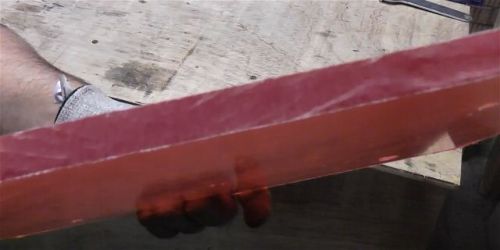
Here is the edge of the piece of acrylic that we are going to be polishing. You can clearly see the saw marks on this edge.

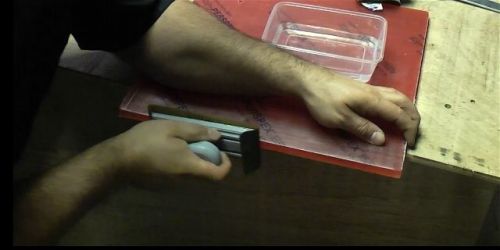
To get an almost mirror like finish on a piece of acrylic without flame polishing is time consuming and can be hard work. To make things easier power sanders can be used, but it is essential that a low speed and little pressure is applied to the work to prevent over heating. Here we are using a delta sander with some abrasive paper to remove the deep saw marks.
Once the Perspex has been sanded you can then start to polish it using wet and dry paper. Start off with 600 grade and polish the edge, then swap to 800 grade and then re-polish. Finally swap to 1200 grade and polish the edge again, when using all grades of wet and dry paper ensure it is kept wet to clean the paper and lubricate the work piece.
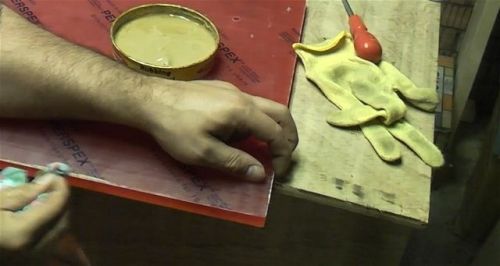
Now you can polish the edge using rubbing compound, this is normally used in body shops to polish paintwork. Rubbing compound is an abrasive paste that is finer than 1200 grade wet and dry paper and will give the Perspex a semi-glossy finish. For the final polish use a clean rag and some silver polish and you will get an almost mirror like gloss finish!
Here you can see that the edge of this piece of Perspex has been polished to a high gloss finish